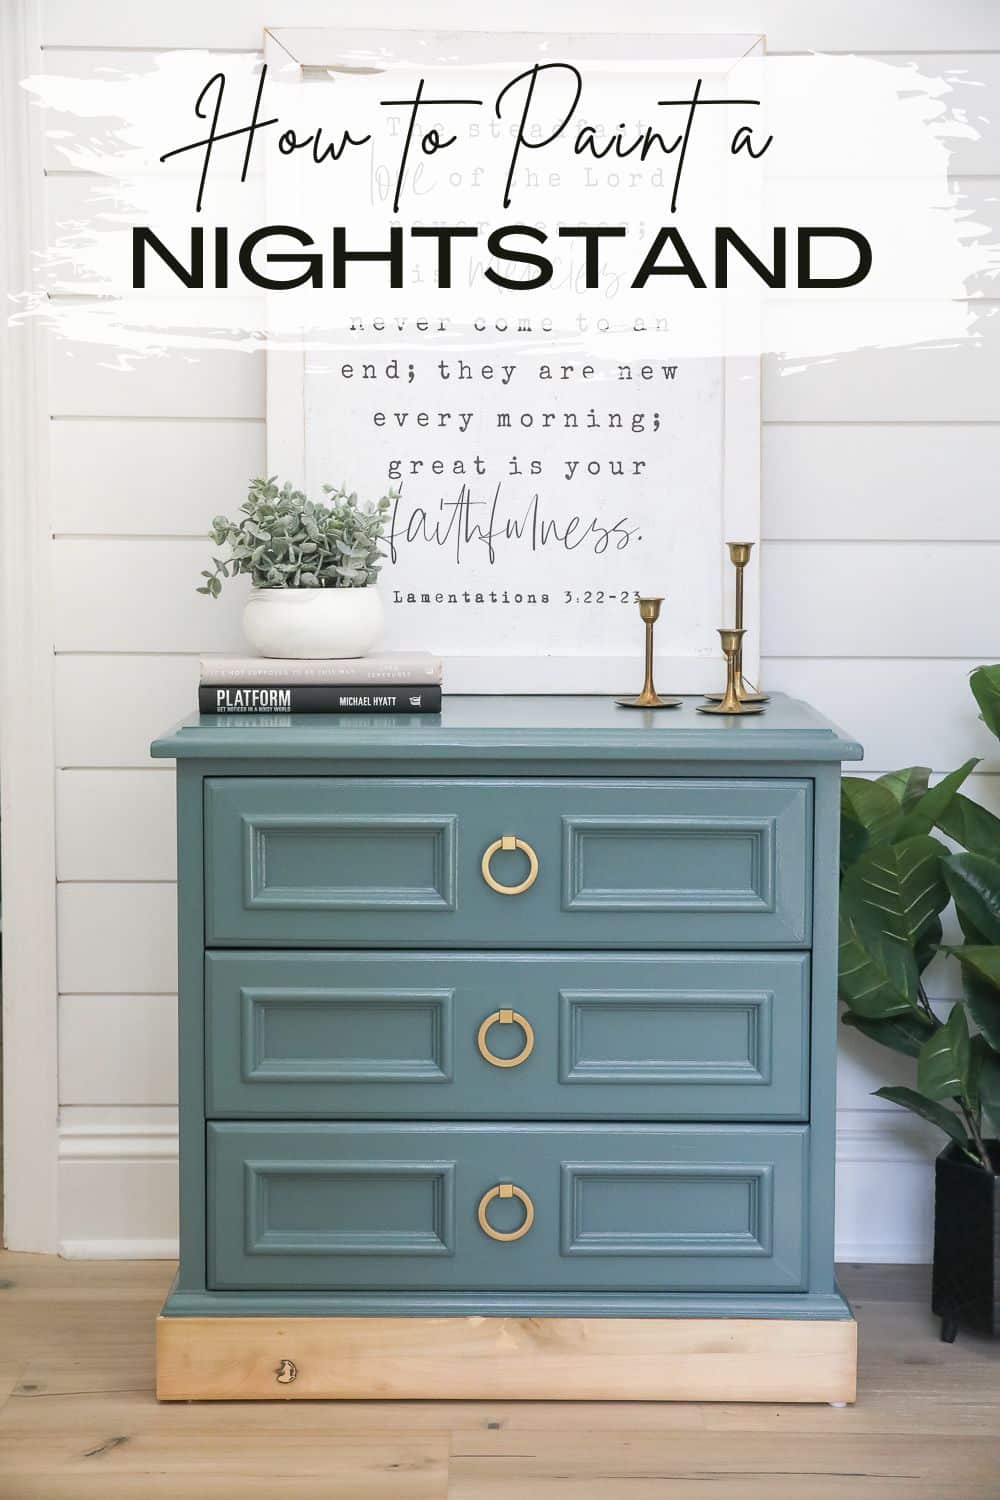
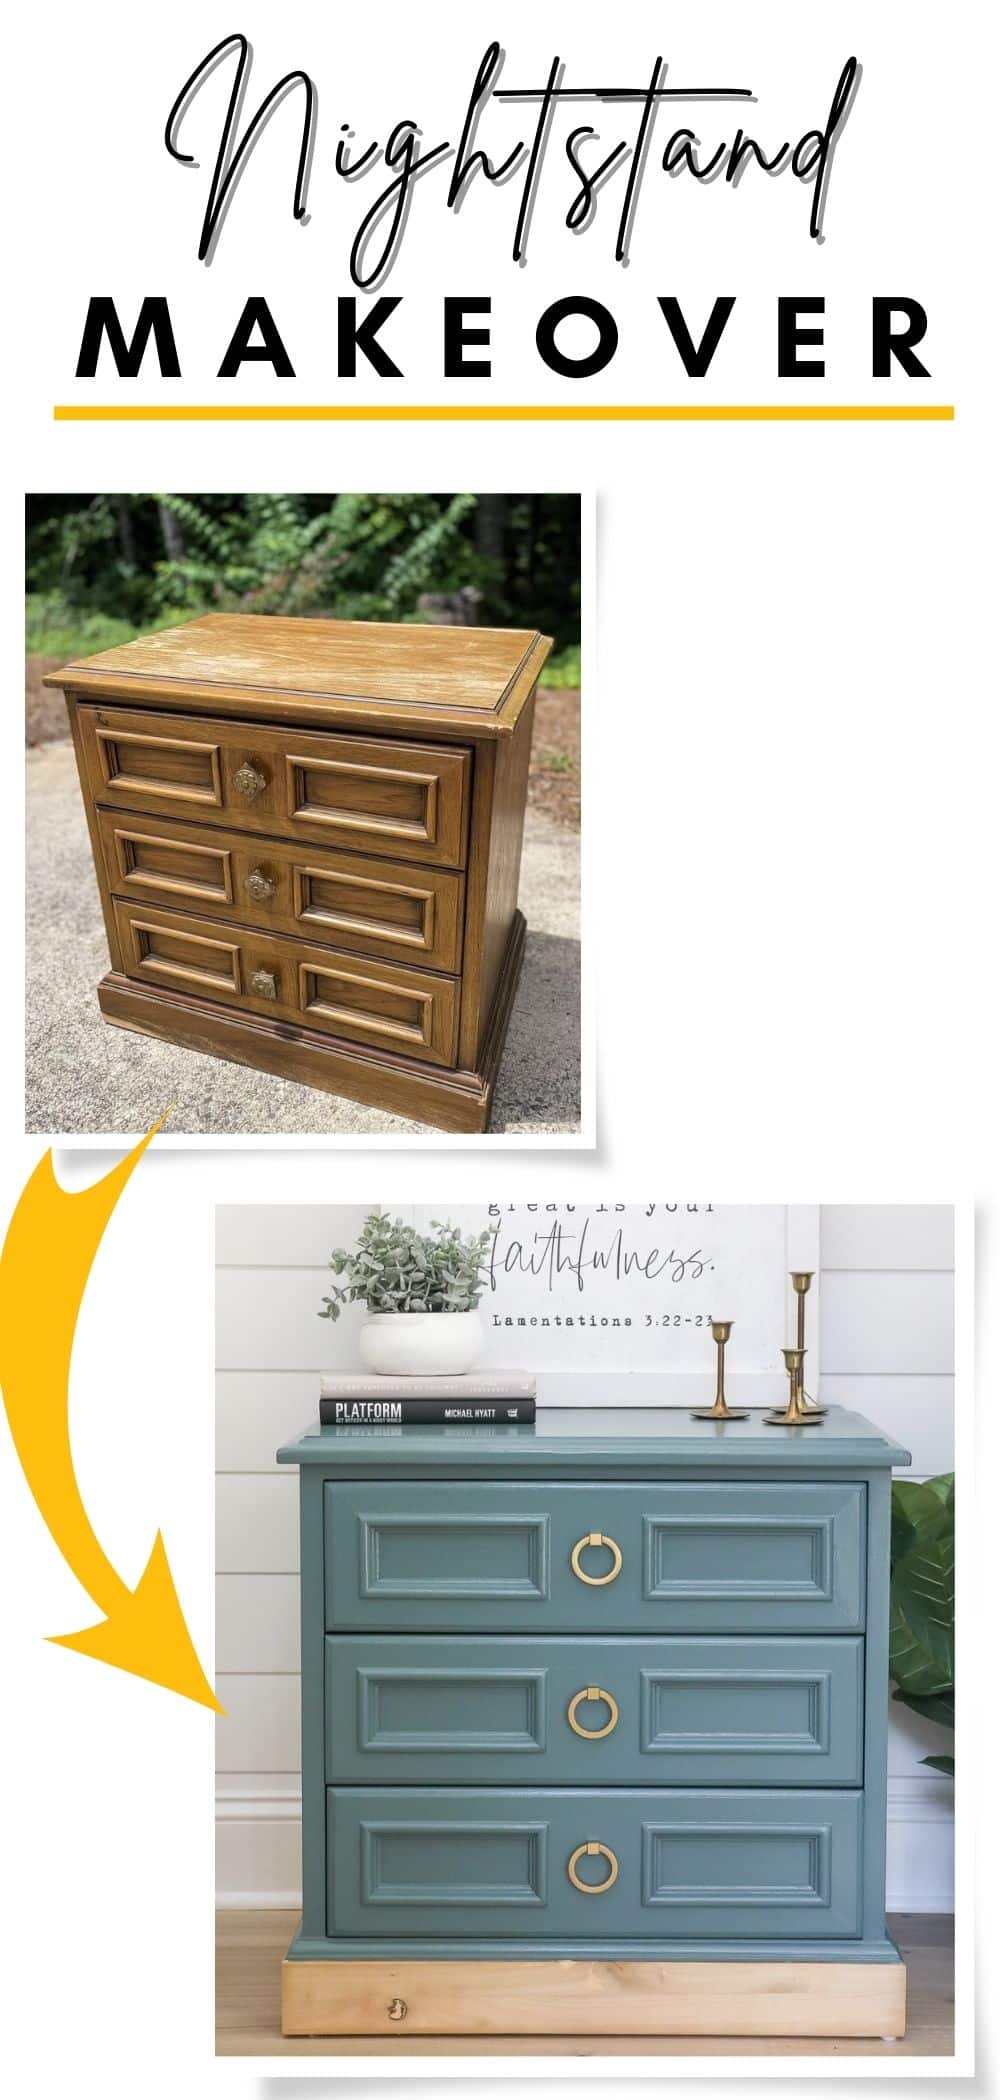
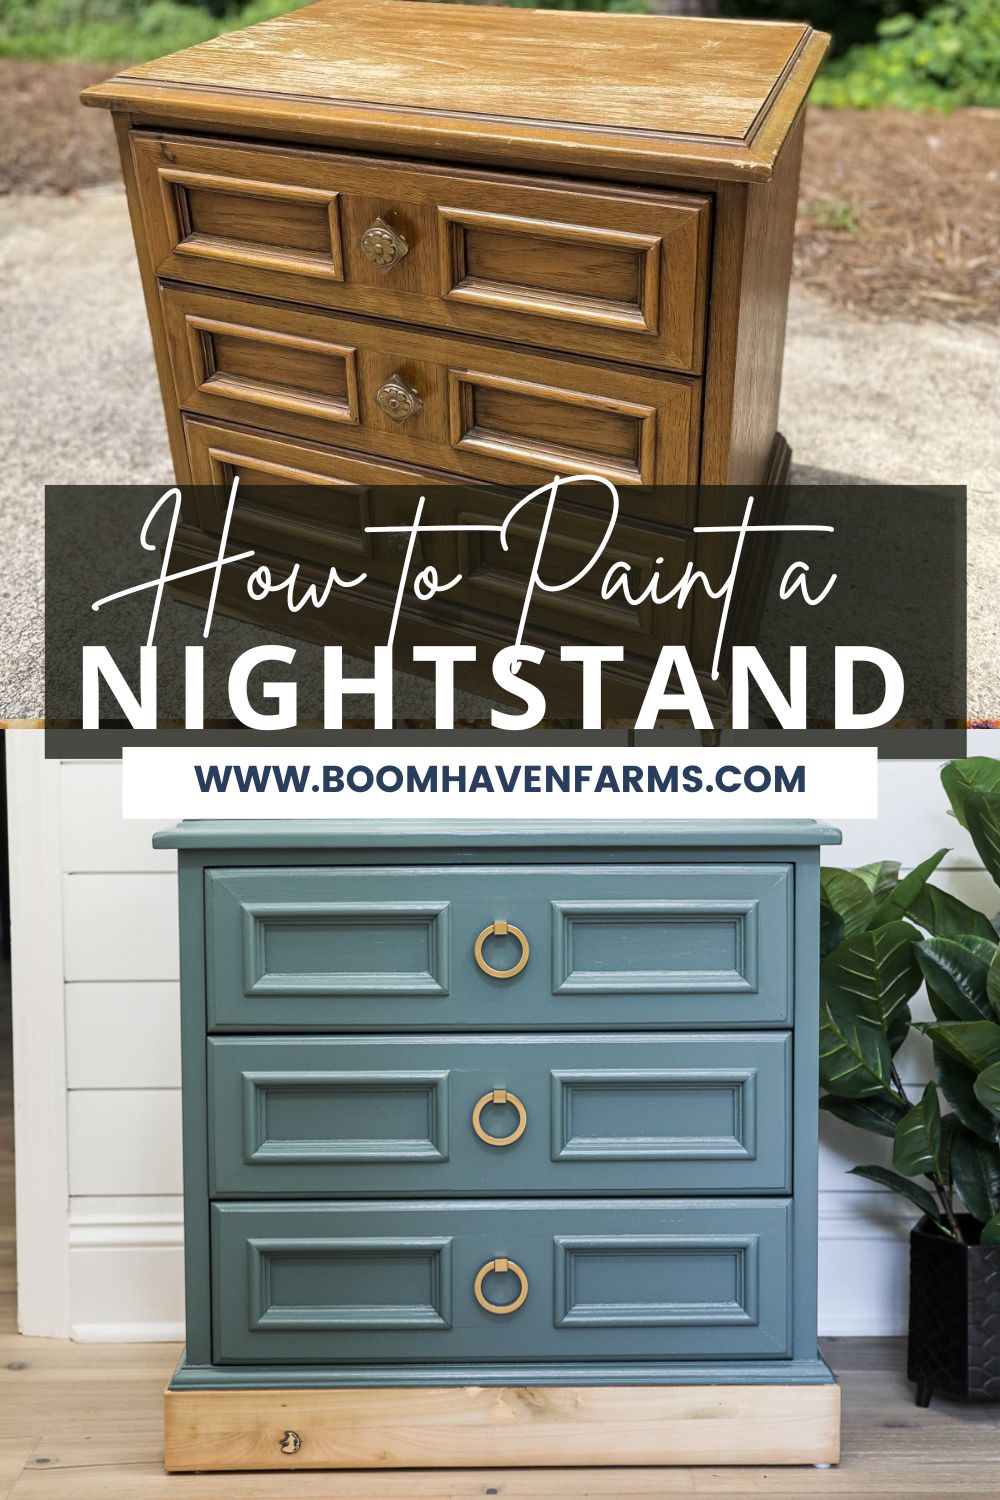
Have you run across an old nightstand or maybe own one that needs a little TLC? We found this bedside table in Nashville at a thrift store for only $12.99. This is the perfect candidate for a tutorial on how to paint a nightstand.
We recently took a quick trip to one of our favorite cities, Nashville. The city is super sentimental to us since this is where we renewed our wedding vows. Click here to see a short video about our vow renewal. We won the vow renewal, and it was an amazing day! When you watch the video, you will understand the significance of Nashville to our family.
Kasey bought tickets, to the Grand Ole Opry, where one of my favorite musical artists was performing, for father’s day, and this was the weekend for the concert. While in Nashville, we can never pass up antique and thrift stores. We hadn’t hit any home runs on this trip: just several solid purchases but no show-stoppers.
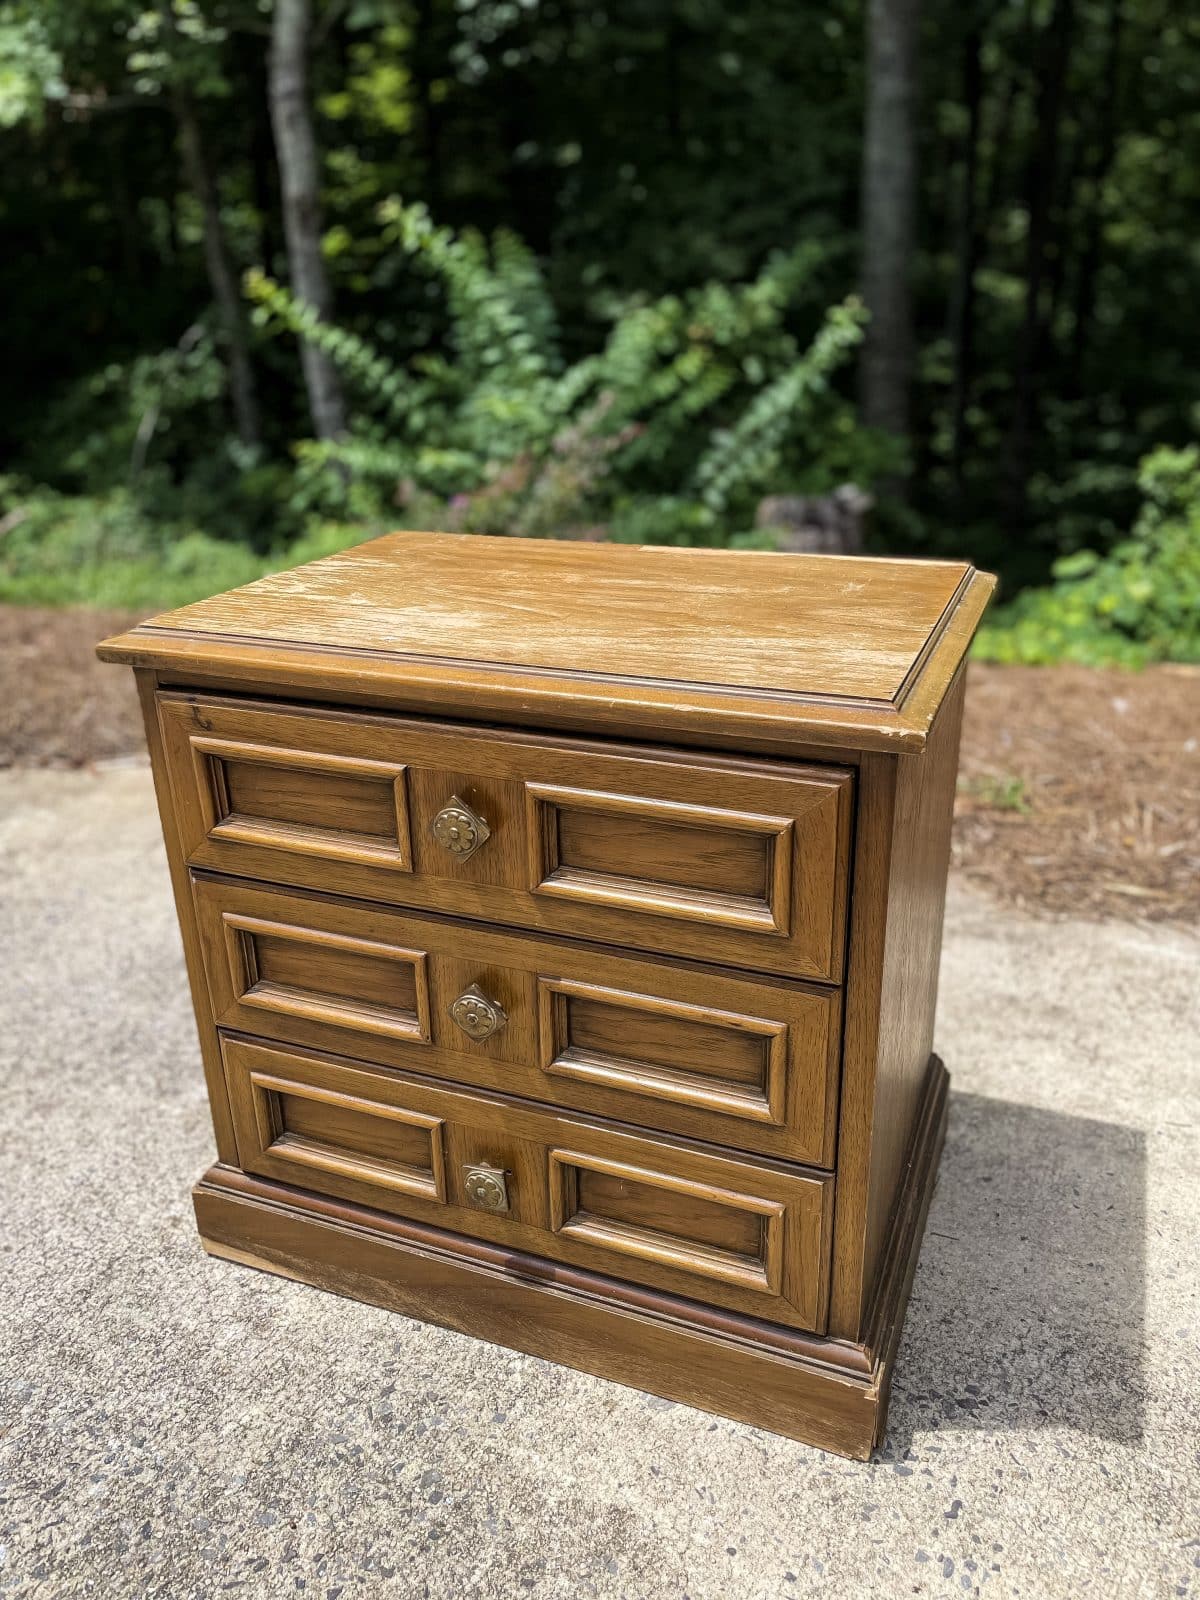
Until I ran into this little guy! Maybe not much at first glance, but he is dripping with potential and dying for me to give him a new life. Best two things, 1) Drexel manufactured this vintage bedside table, and 2) it was only $12.99!!
This was my home run for the weekend. Old furniture looking for a new home + me = a perfect combo! When finished, this painted nightstand will definitely turn heads.
In this post, you will see the steps I took on how to paint a nightstand. It took some work, but the result is amazing!
1: Materials And Tools
Simple Green All Purpose Cleaner


Latex Paint


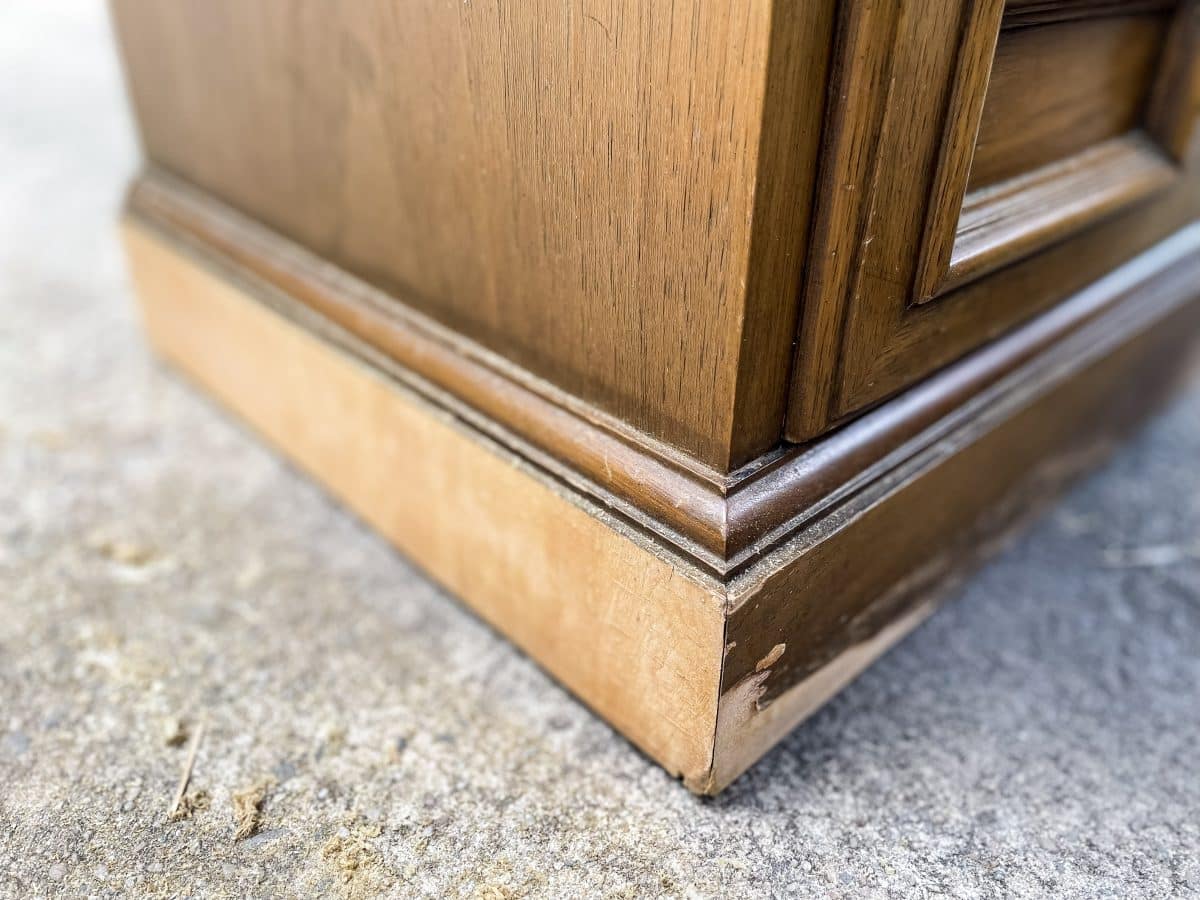
2: Filling in scratches, dents, and old hardwood screw holes
Make no mistake; this Drexel nightstand has been enjoyed or, should I say, absolutely destroyed by previous owners. If they were going for the distressed look, I am pretty sure they figured that out! The wear on this piece doesn’t scare me, though. The bedside table needs a lot of TLC to return it to its glory days.
I used a screwdriver to remove the hardware from the three drawers. While the original hardware was unique, it was outdated, and nothing could bring it into this century. There were several wear spots and the old hardware holes on this bedside table that had to be filled with wood putty. Once dried, I used 220 grit sandpaper to smooth.
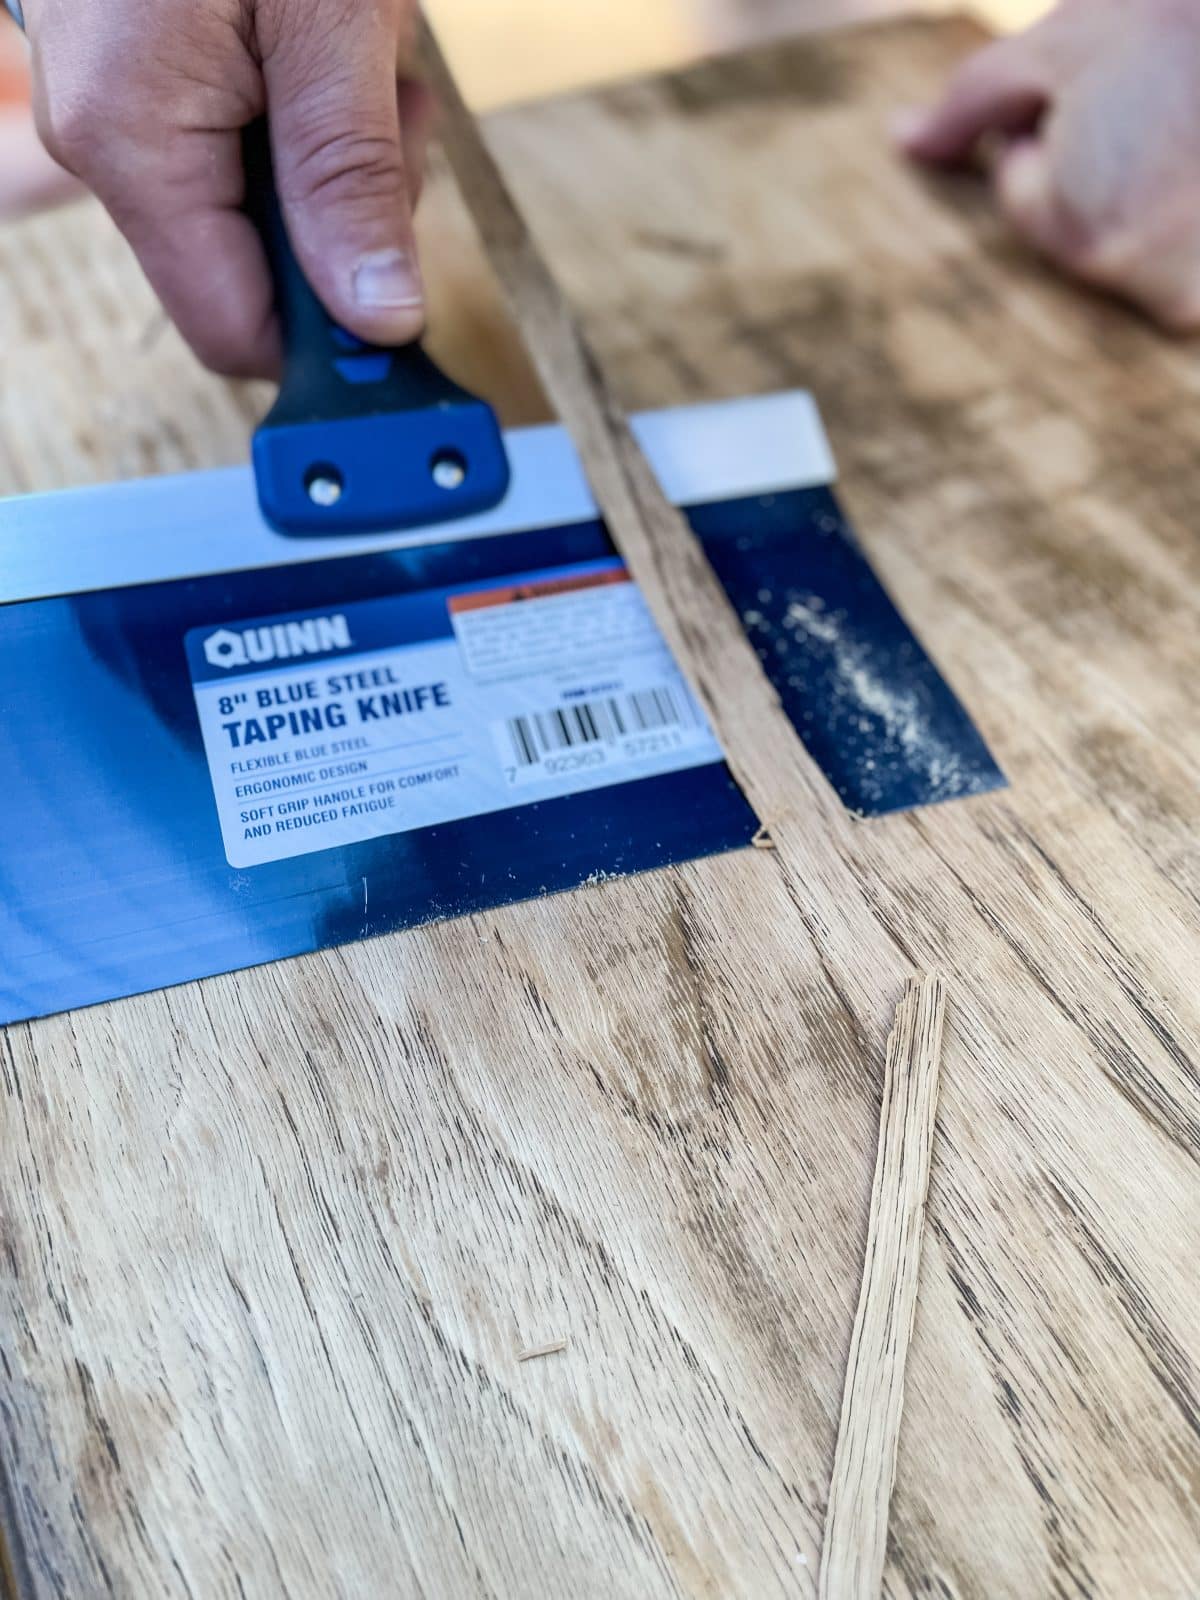
3: remove peeling veneer on base and top
The soon-to-be-painted nightstand had peeling veneer on the top and base of the piece. I began removing the veneer by peeling everything away with my fingers I could. When all loose veneer was removed, I was left with veneer that was still glued or tightly attached to the wood surface underneath. I used a putty knife and drywall taping knife to carefully run behind the veneer to remove as much as possible.
Once I got to the stuck veneer, I had to break out the heat gun. A heat gun is an excellent option for removing things that are glued. The heat gun will heat the adhesive until you can safely remove the veneer. Be careful to constantly move the heat gun back and forth to avoid creating burn marks or even catching your furniture on fire. I promise this is possible. I may or may not have done this before.
4: Sanding the nightstand
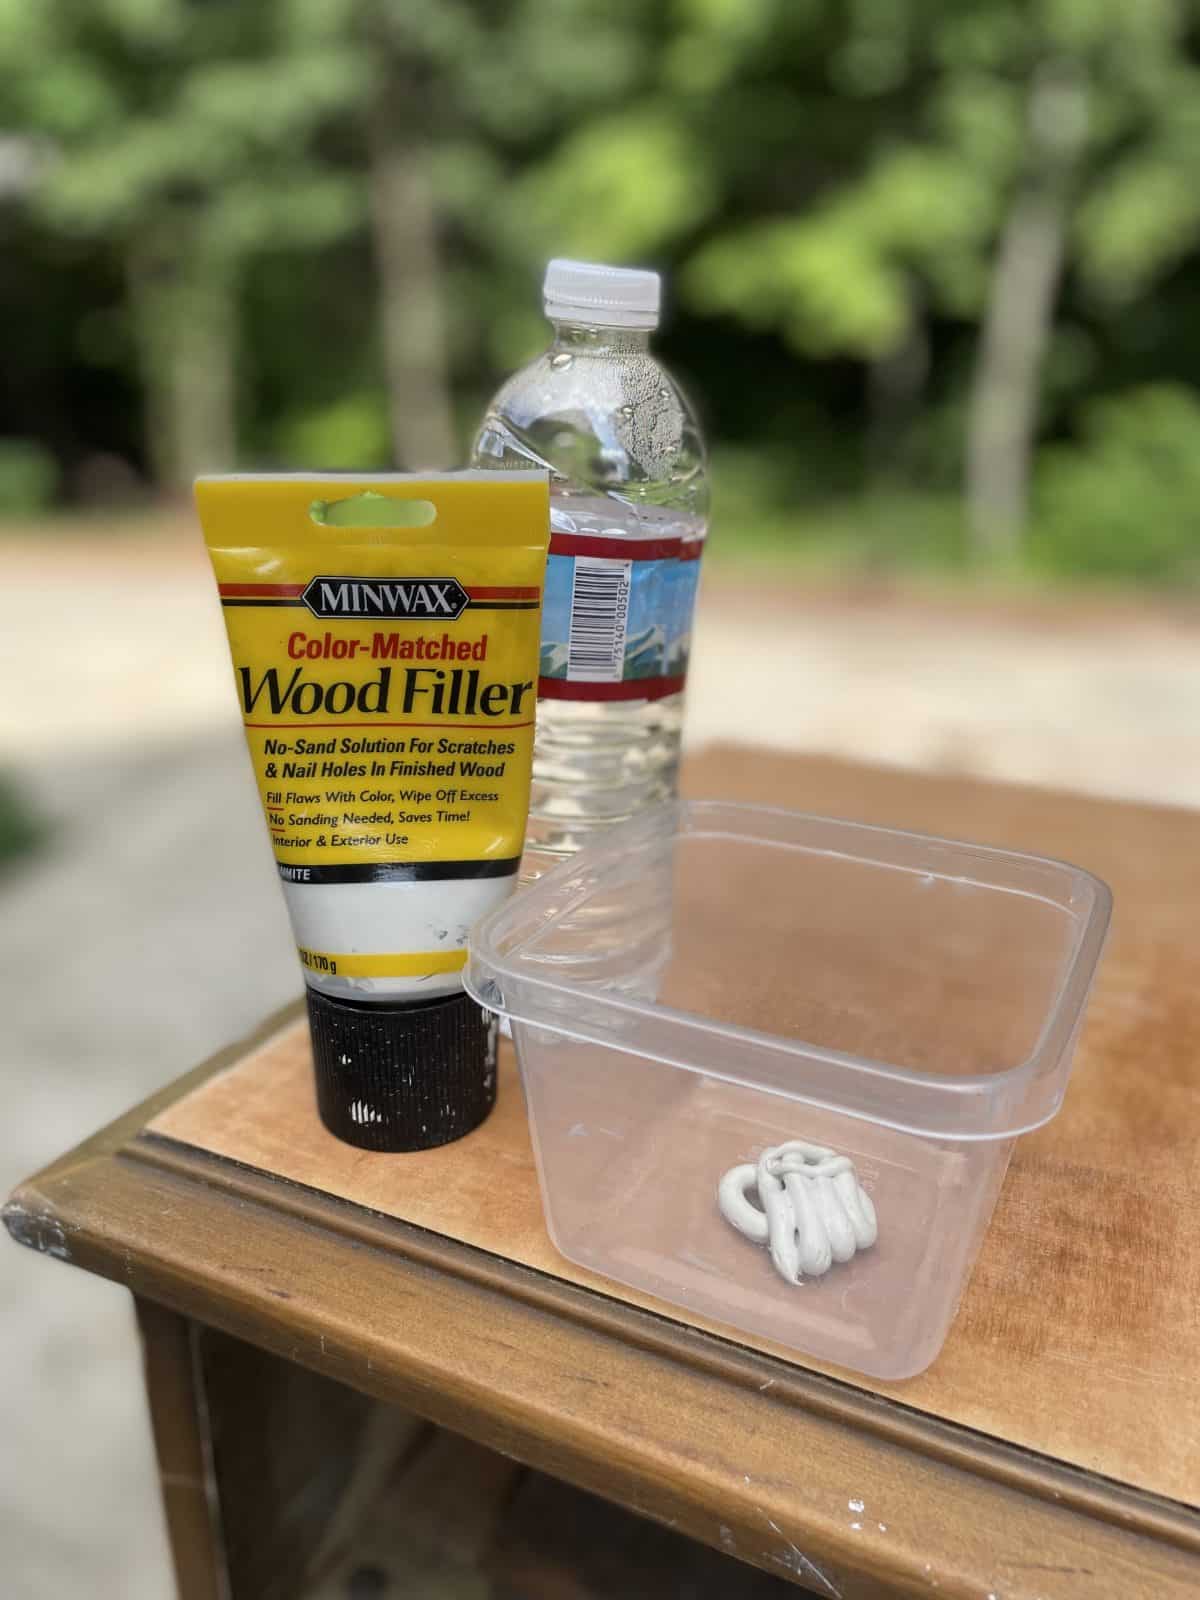
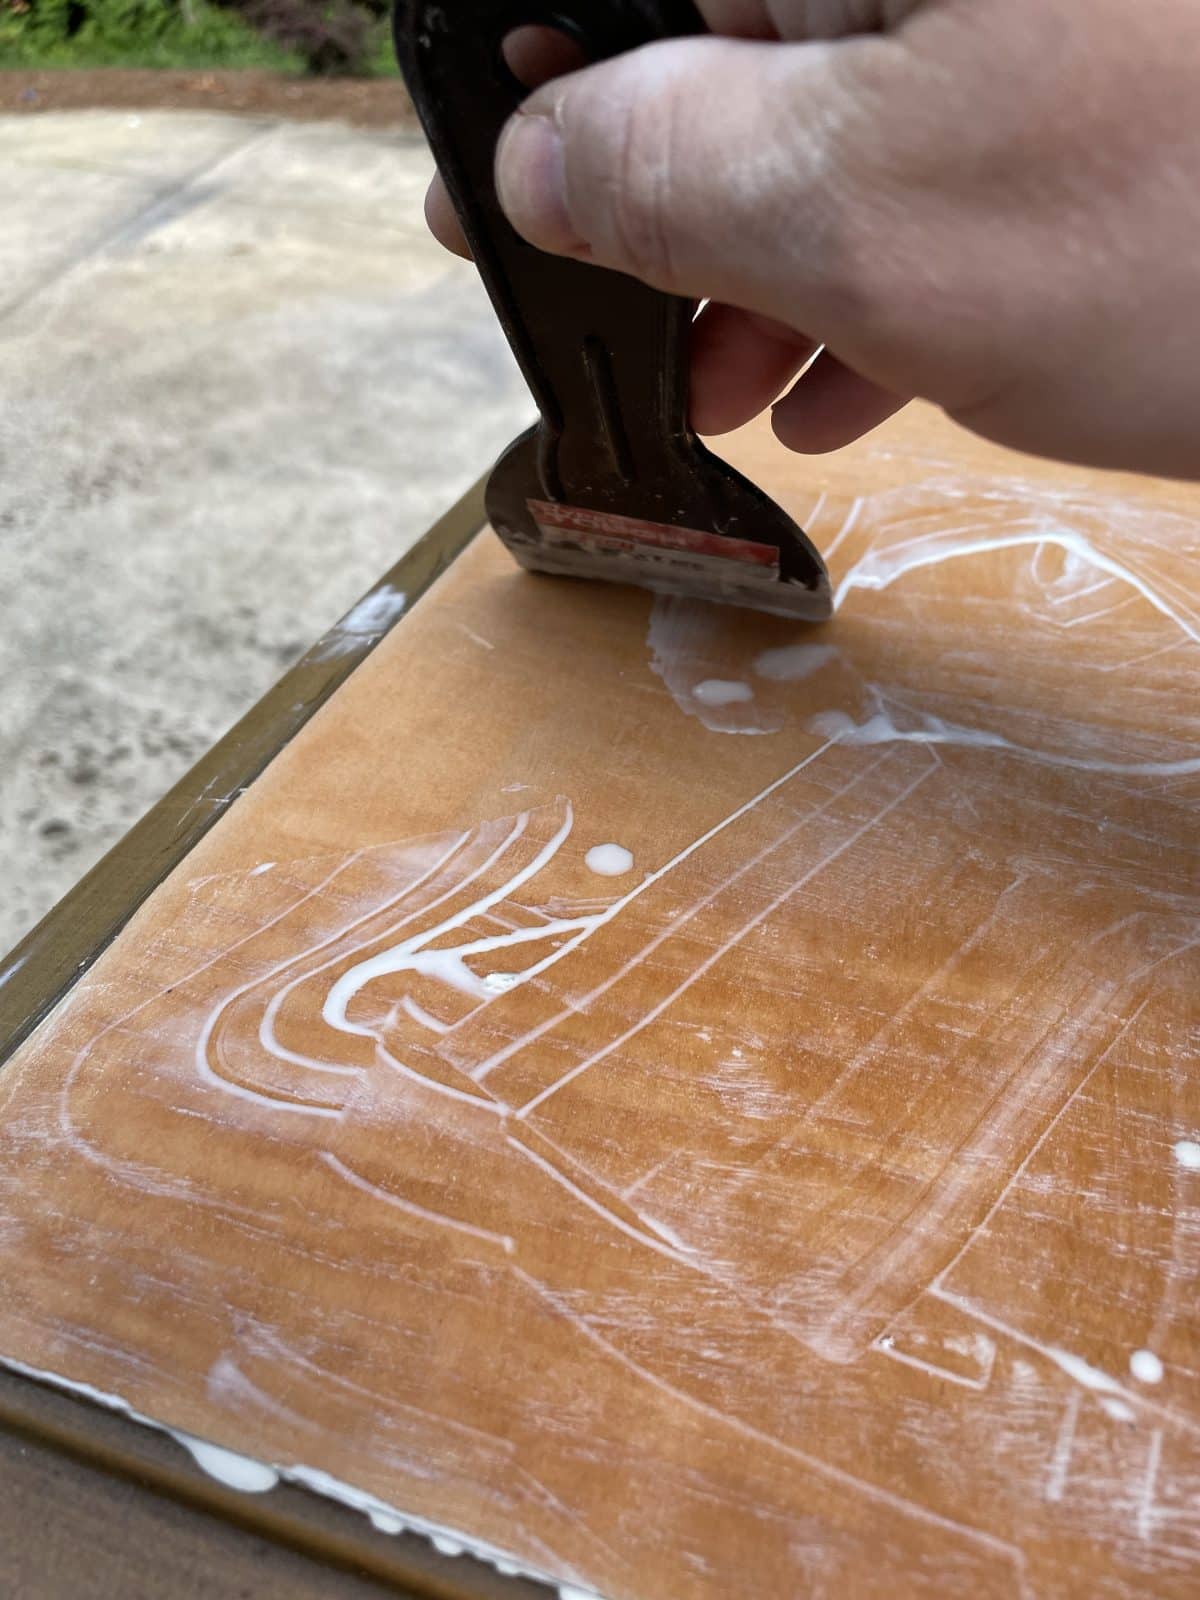
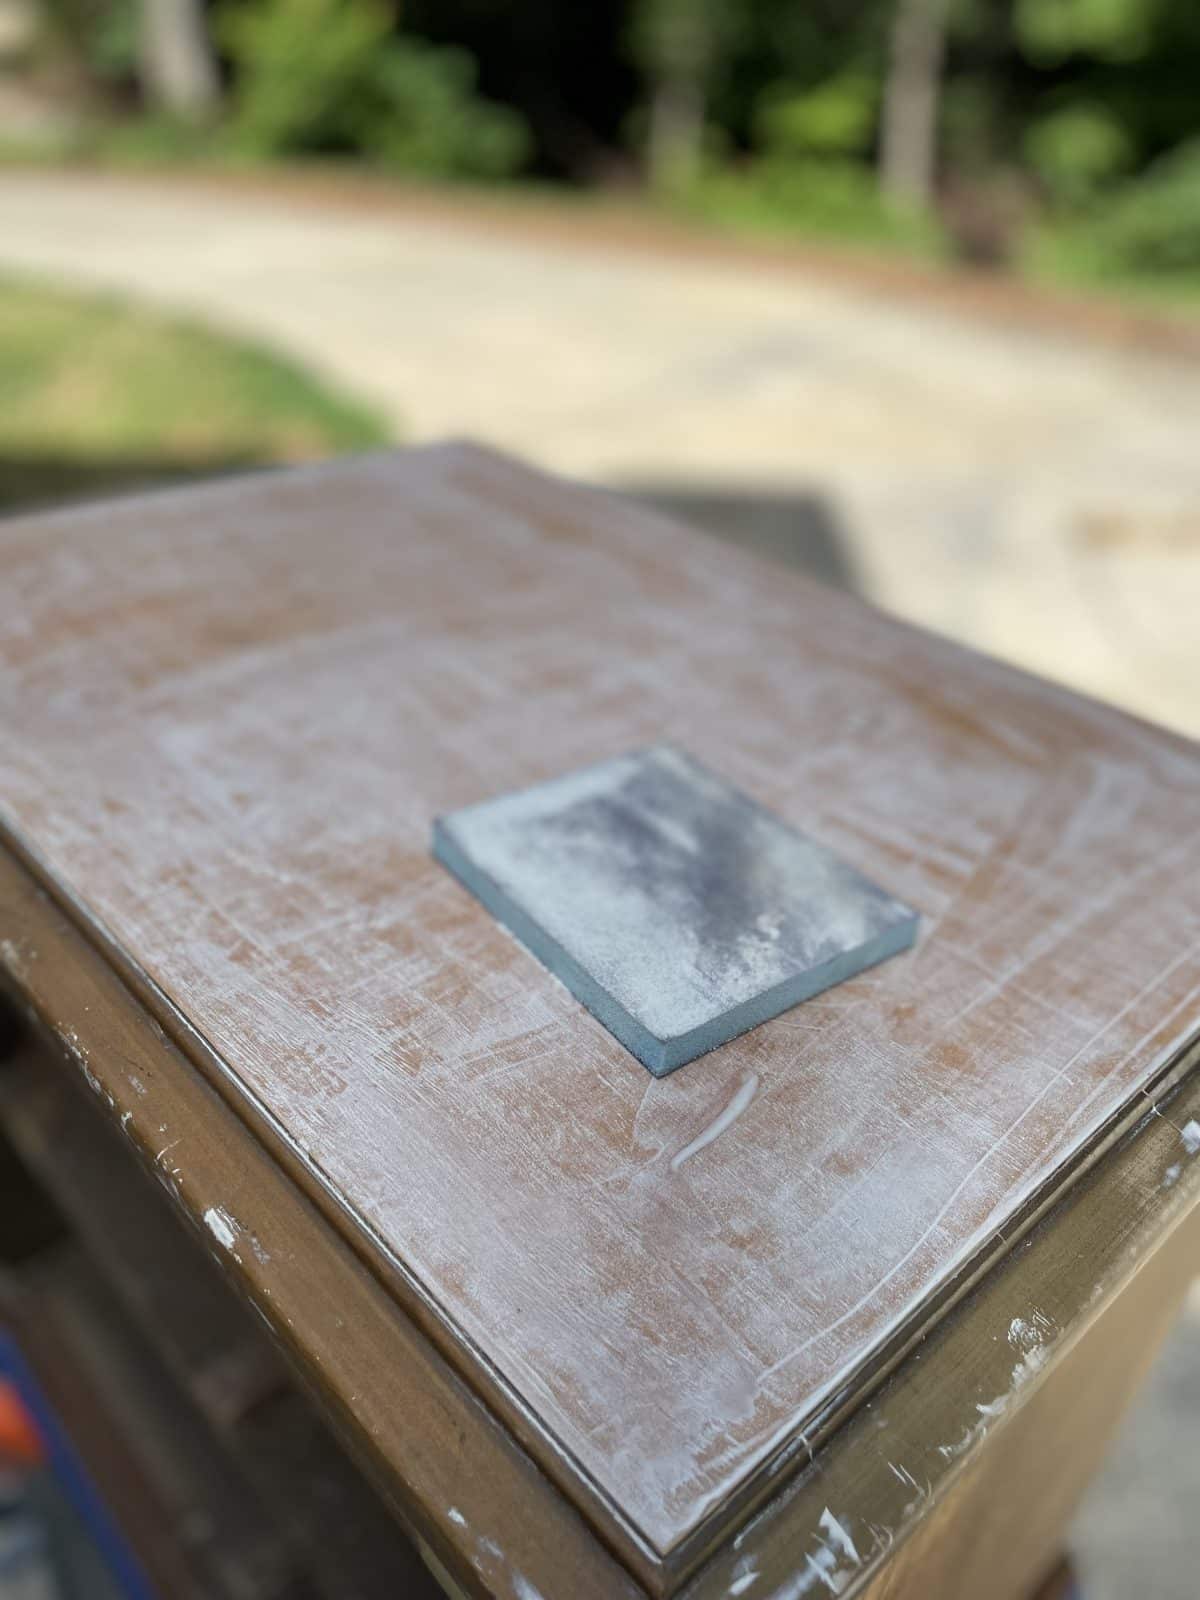
As pretty as the wood was on the top, I still needed to use something to fill in as much of the grain on top of the nightstand makeover. By mixing a small amount of water with wood filler, I created a mixture that had enough liquid to be worked into the grain easily. Once dried, I sanded it with fine-grit sandpaper (220 grit). This created a smooth finish on the top that was ready for primer.
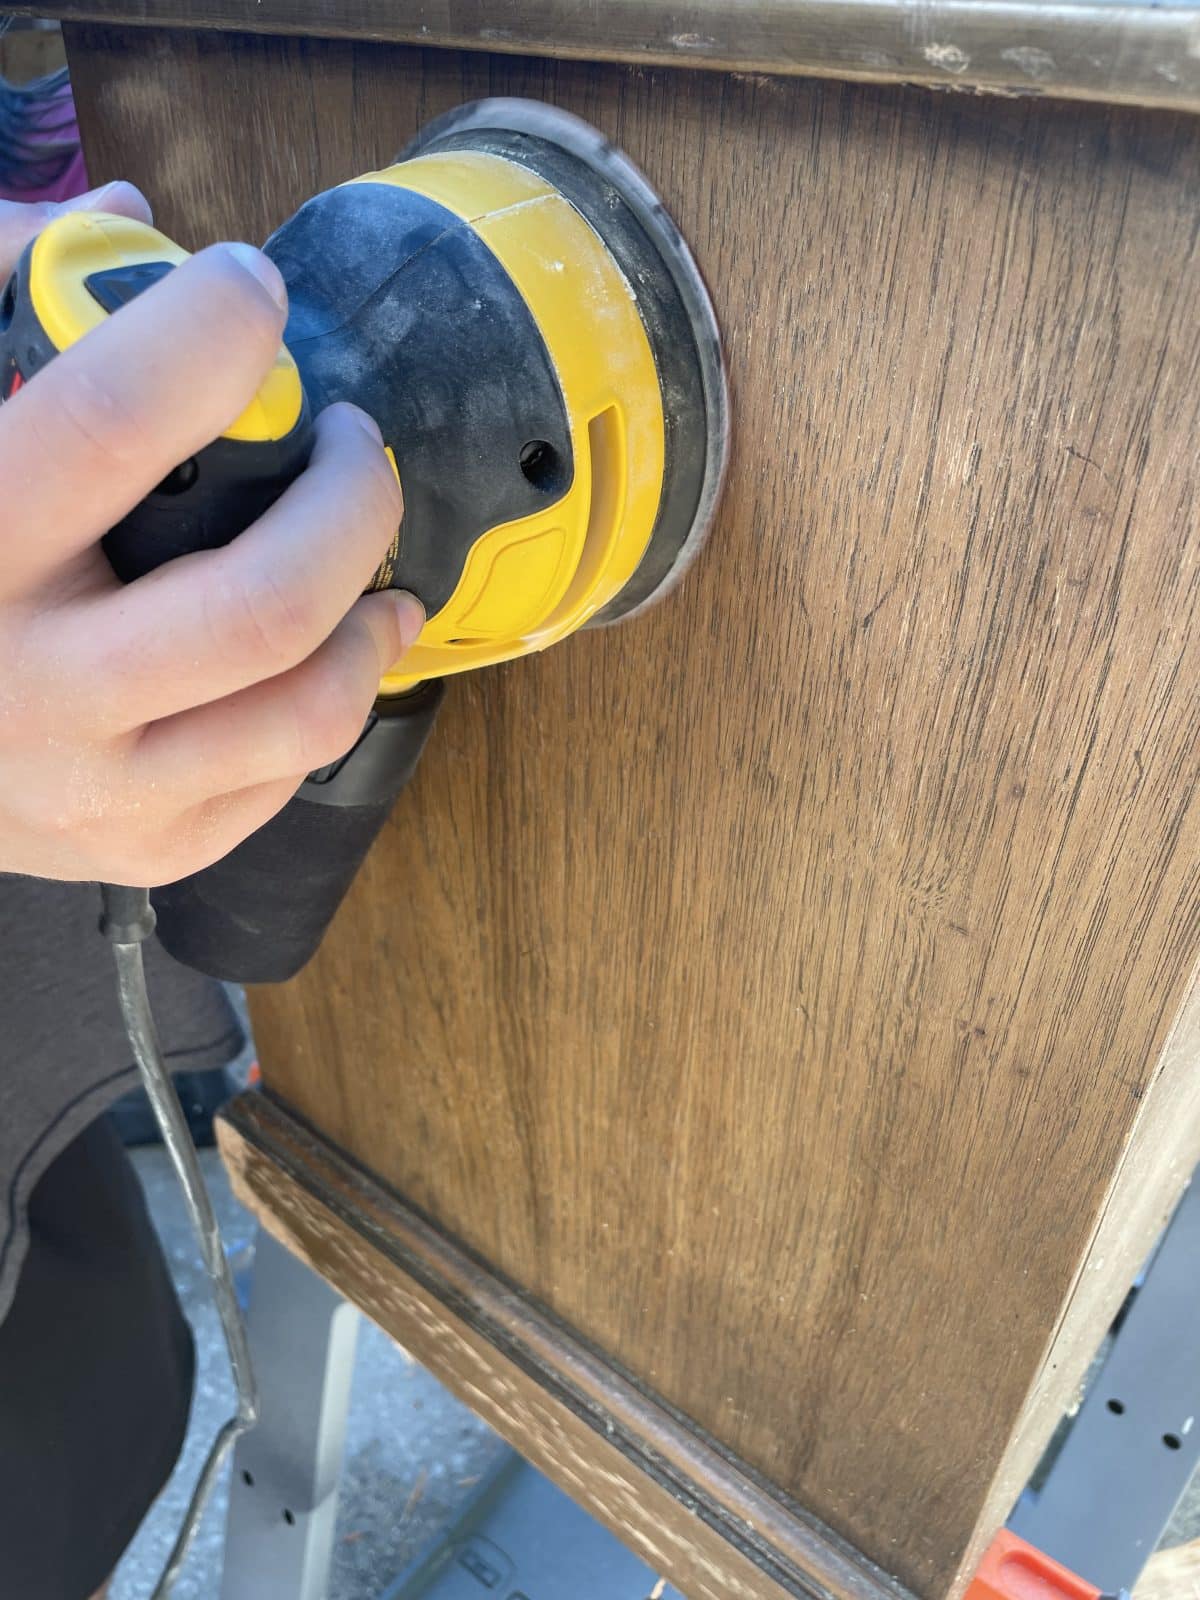
Using an orbital sander was a fast way to prepare all surfaces for primer and paint. I started the sanding process using a medium grit 150 sandpaper. Once I had a good scuff sand, I went to a 220 grit sandpaper to ensure an ultra-smooth finish. Sanded and ready for a good cleaning.
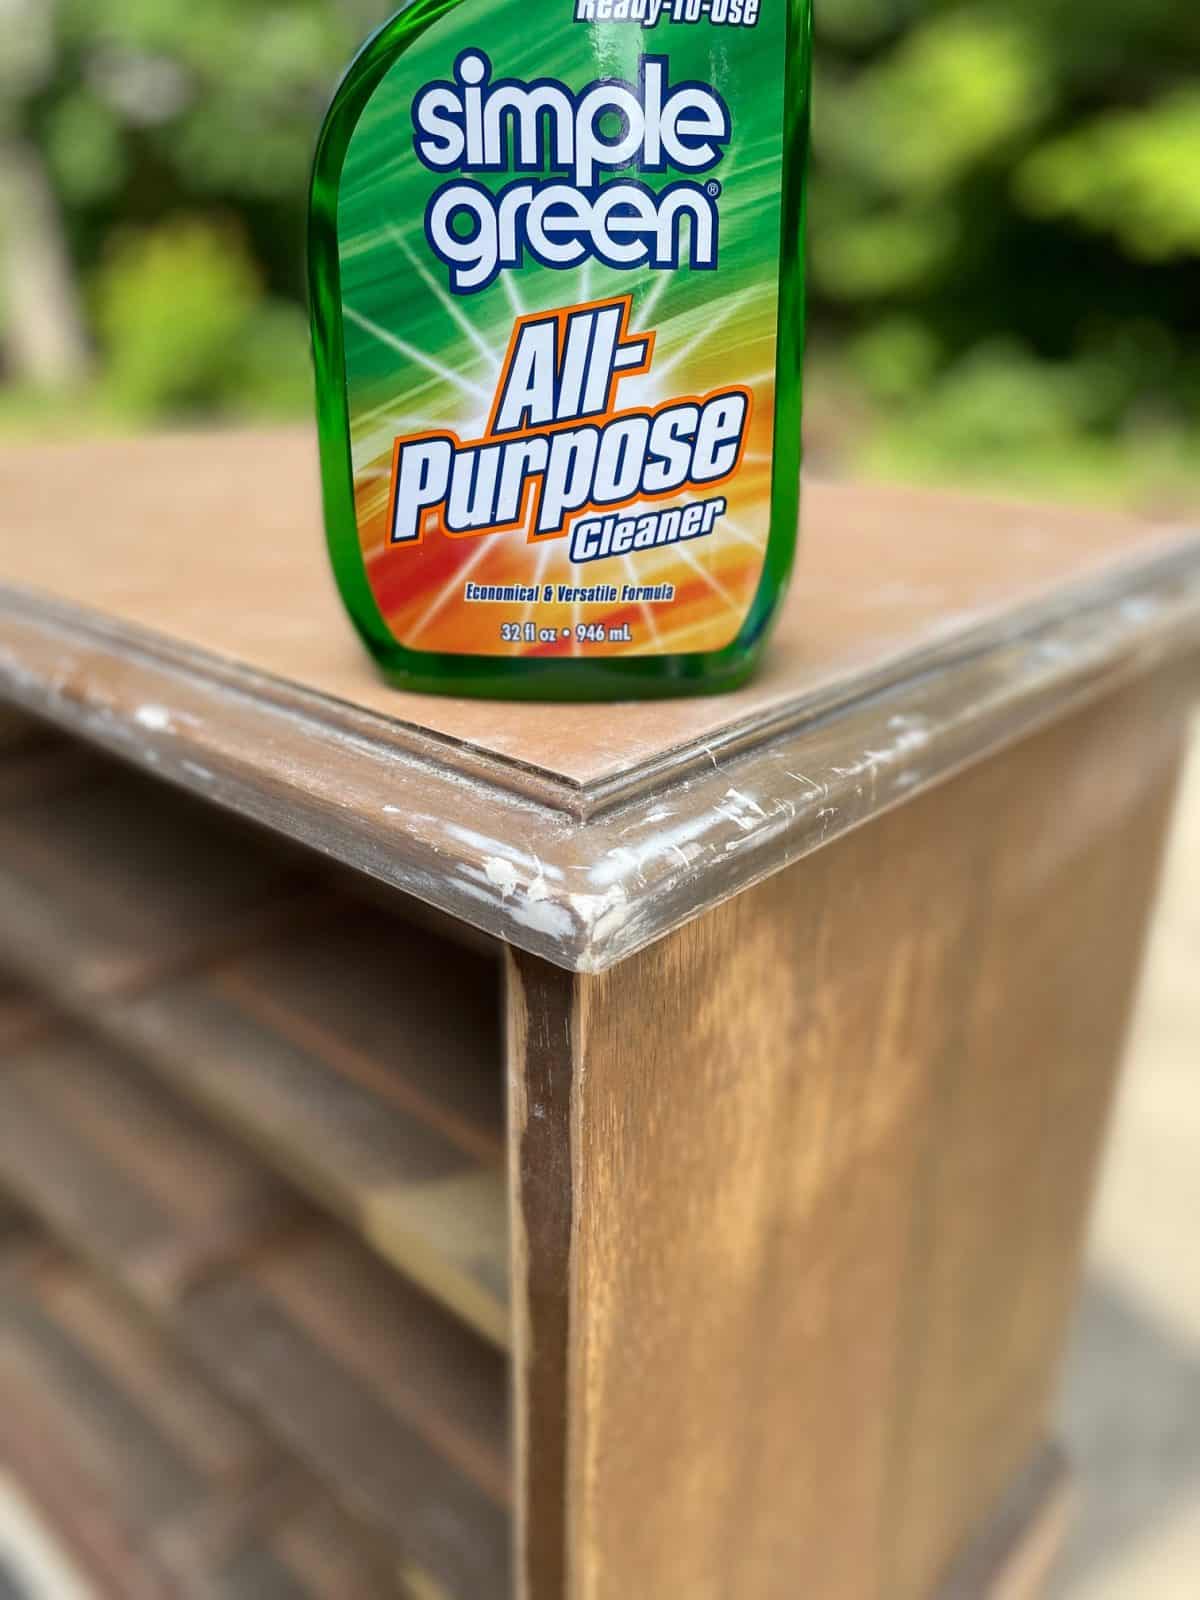
6: Time to get this night stand makeover cleaned and ready for primer and paint
I decided to go with Simple Green All-Purpose Cleaner for this project. I liberally sprayed the drawers and frame and gave the entire piece a good wipe-down to ensure the removal of all grease, oil, dust, and dirt. The inside of the drawers also needed cleaning because of the years of grime that had built up.
Cleaning the piece is crucial due to a few reasons. First, the primer, paint, and poly will not adhere correctly to dirty furniture. It would be a shame for me to tell you how to paint a nightstand but leave this important key out. Your finished product would have issues down the road due to bad paint adhesion. Secondly, cleaning the piece lets you look over the entire surface to ensure that all repairs have been made. Cleaner and ready to paint!
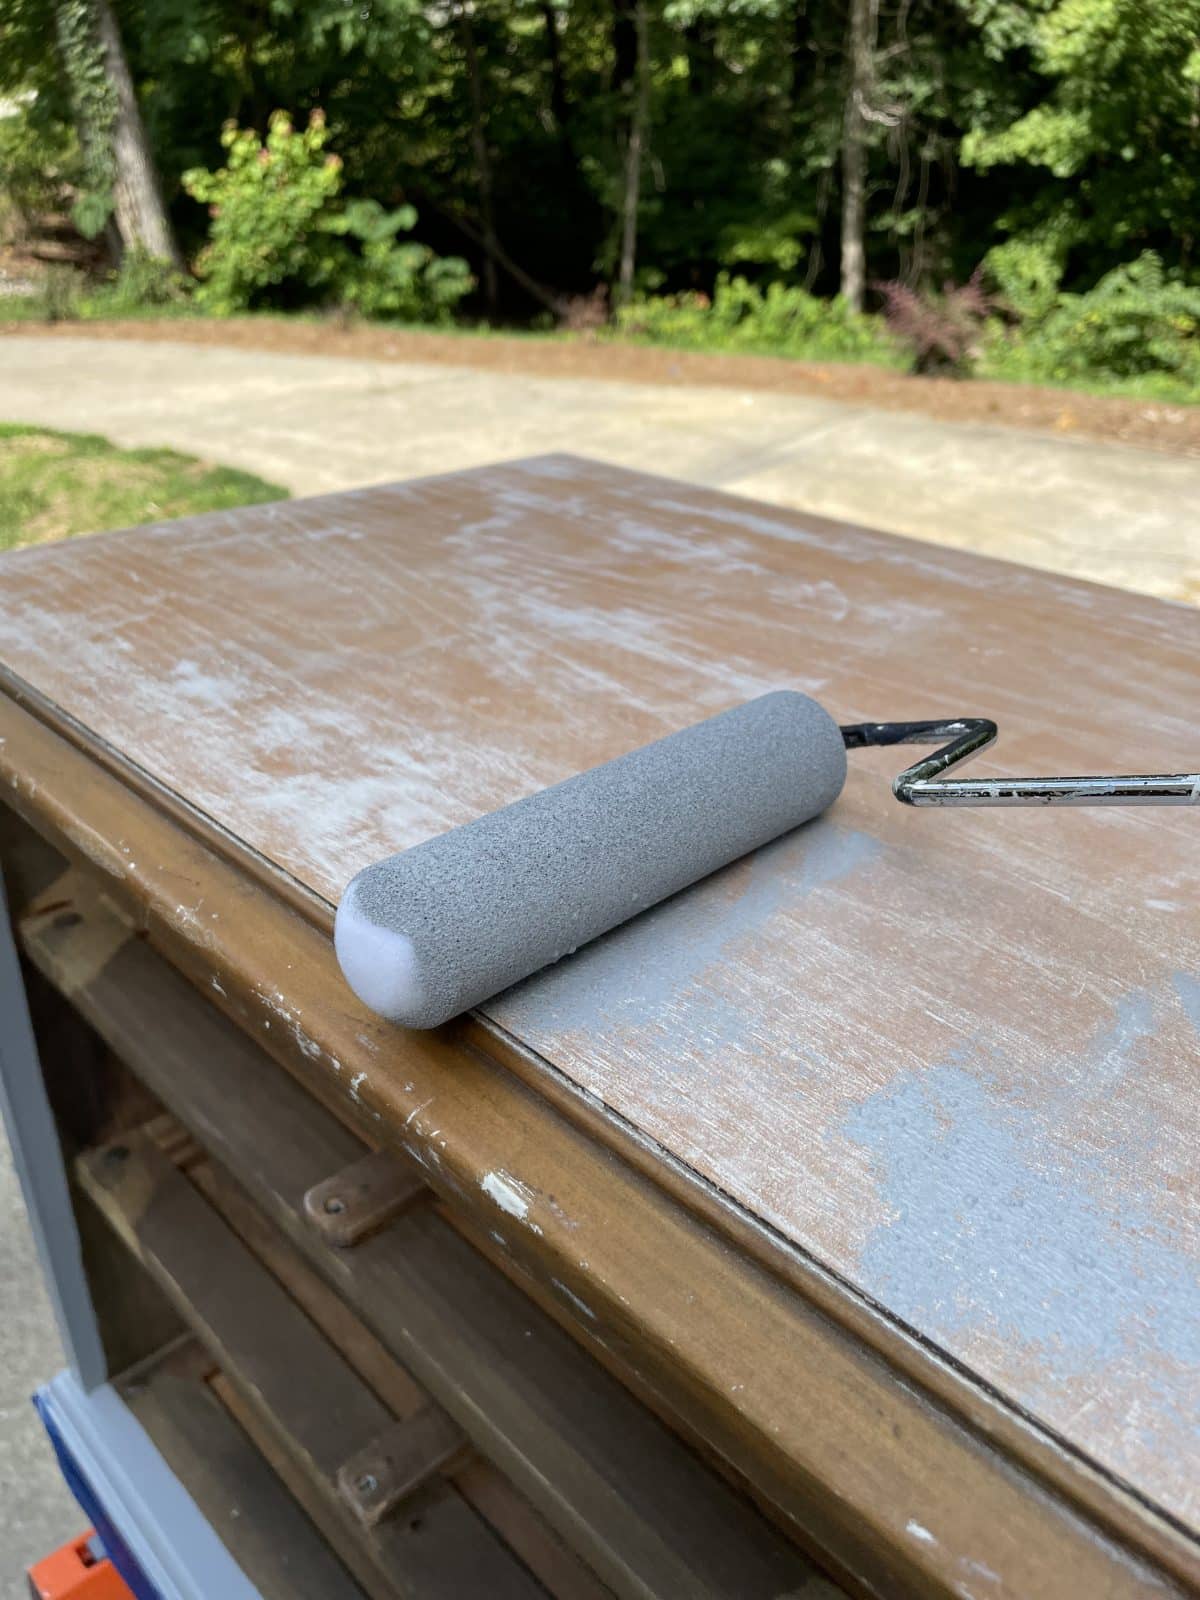
7: Here comes the primed nightstand
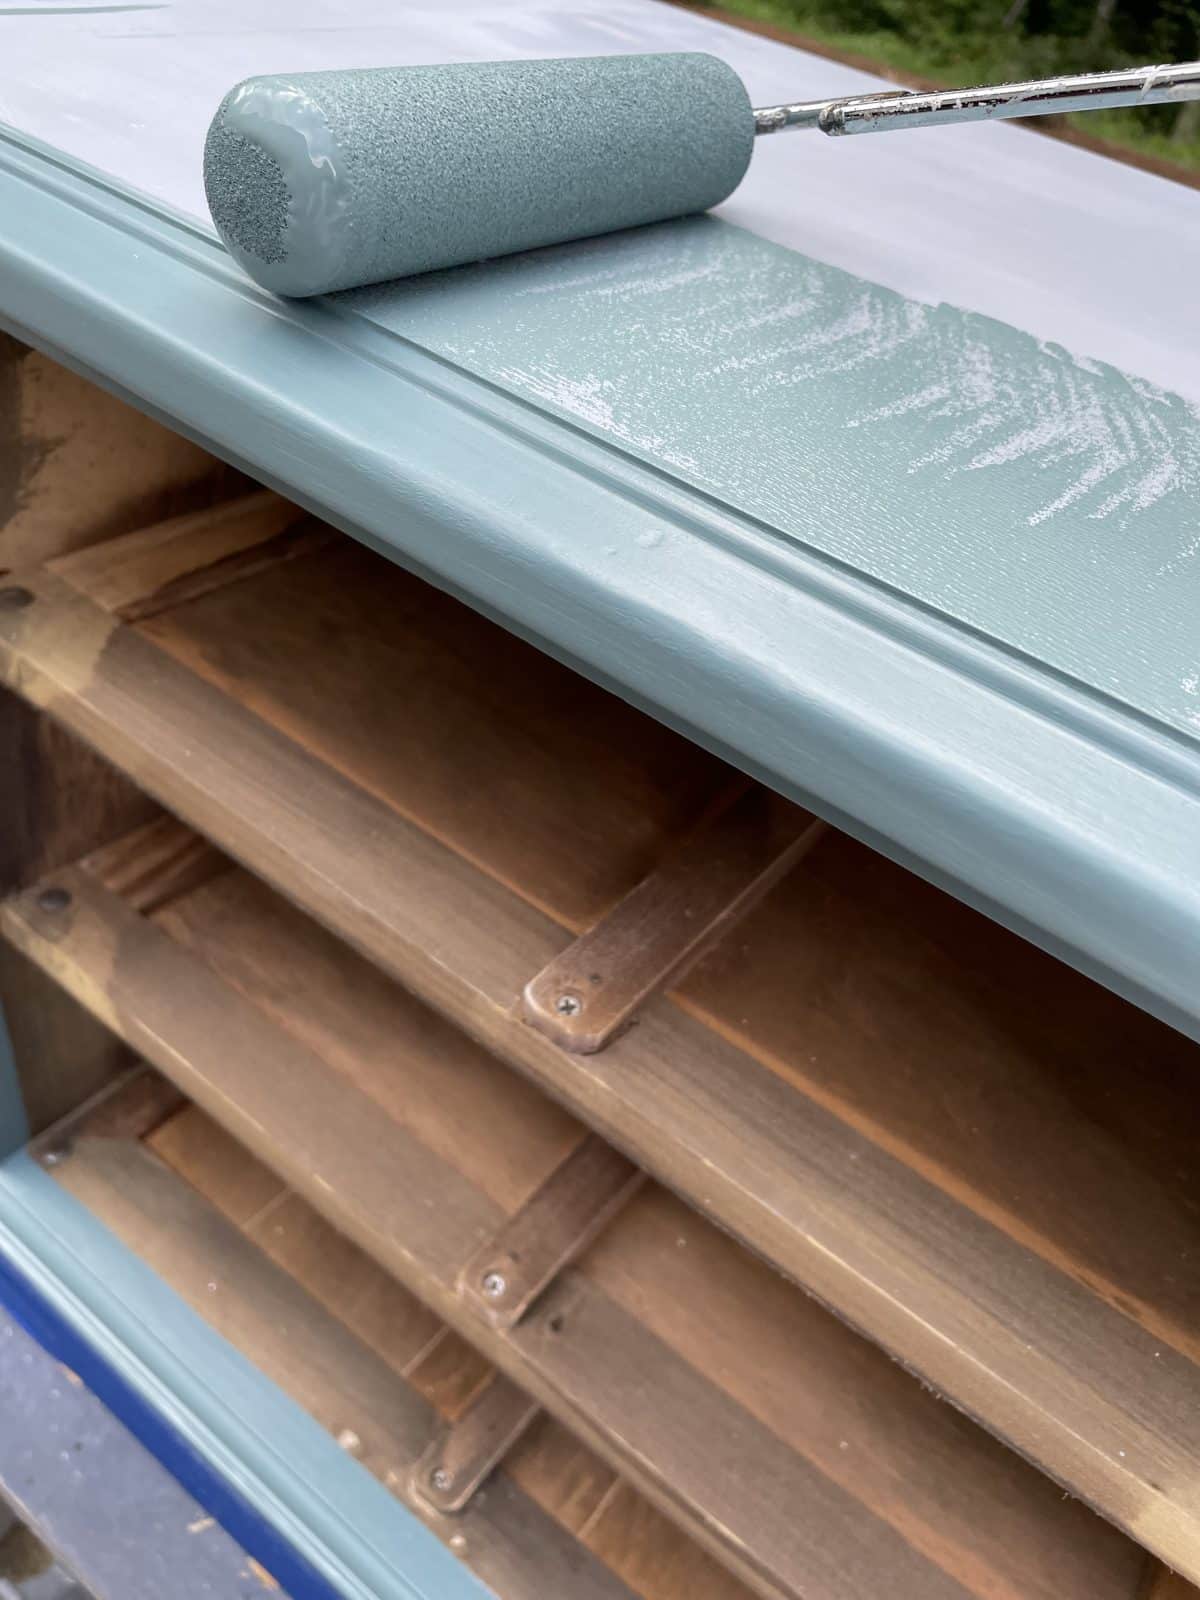
Due to this paint color being a bit darker, I used Zinsser Bulls Eye 123 primer that I had tinted gray. This can help hide minor scratches and chips in the future. Using a 6″ foam roller, I rolled two coats of primer on the nightstand for proper coverage and a smooth finish.
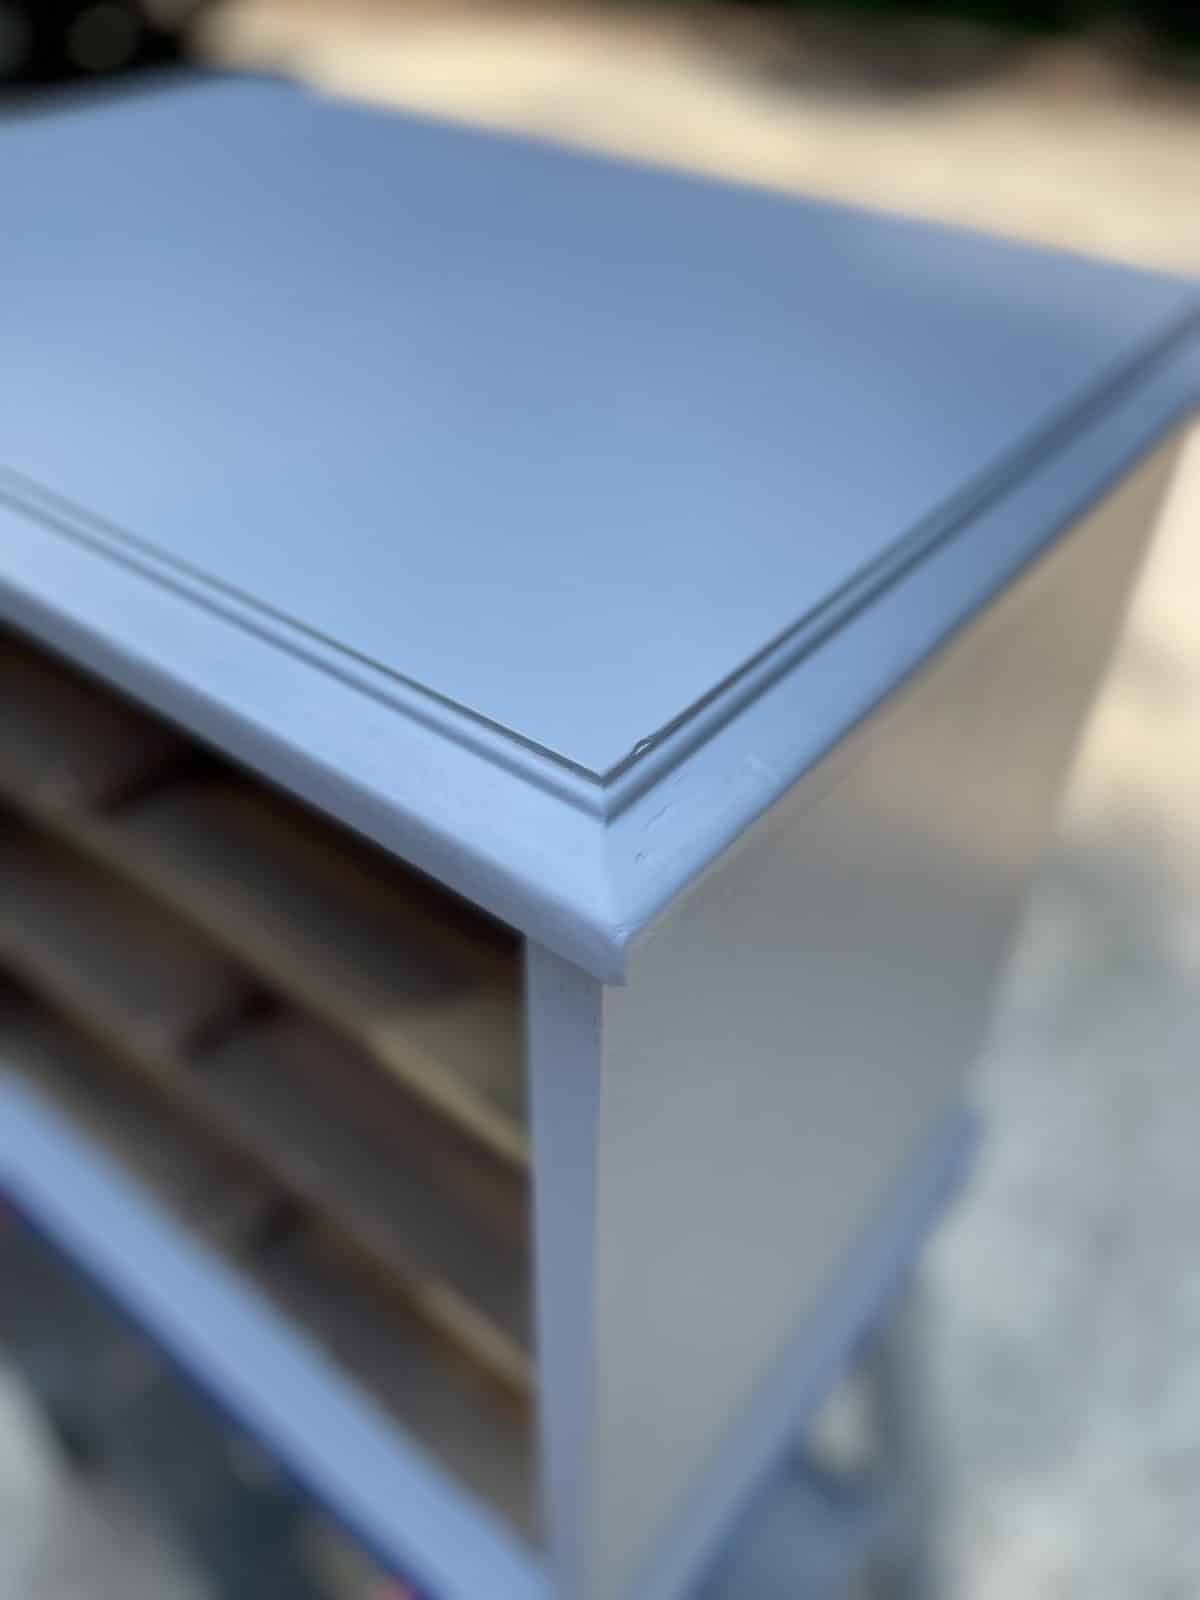
8: And now…how to paint a nightstand
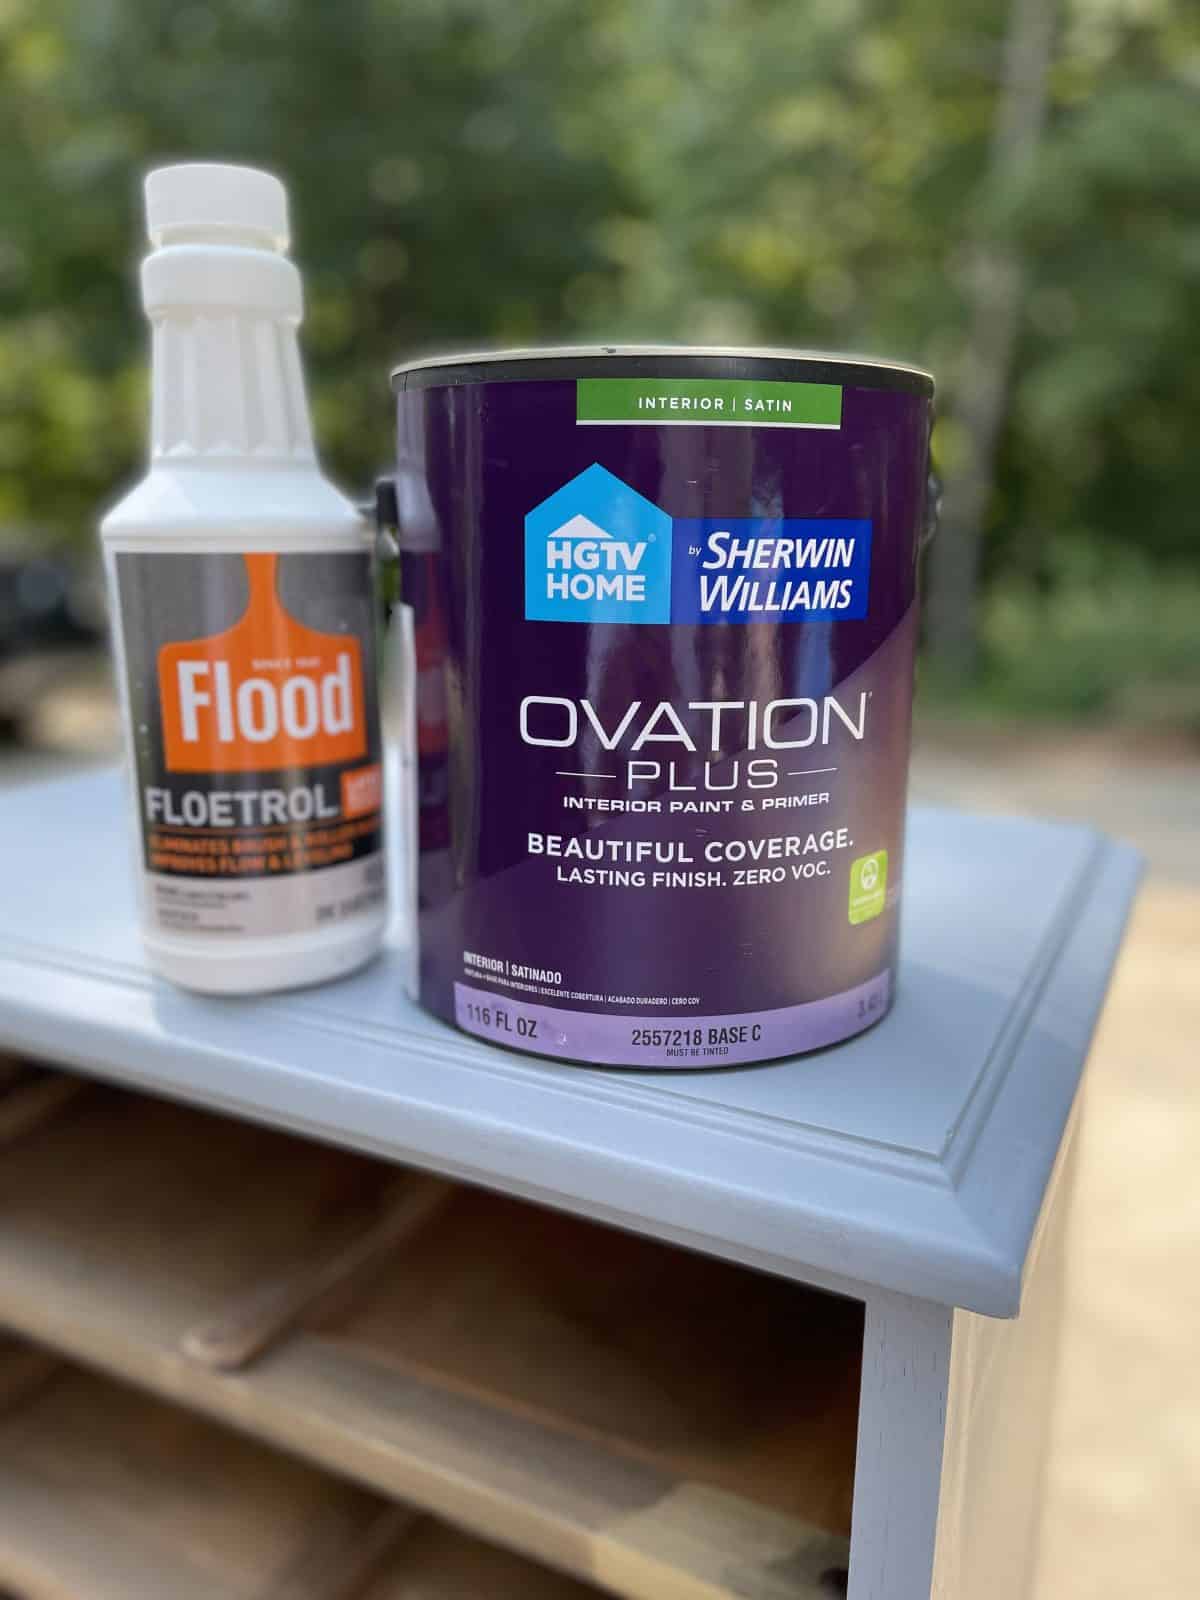
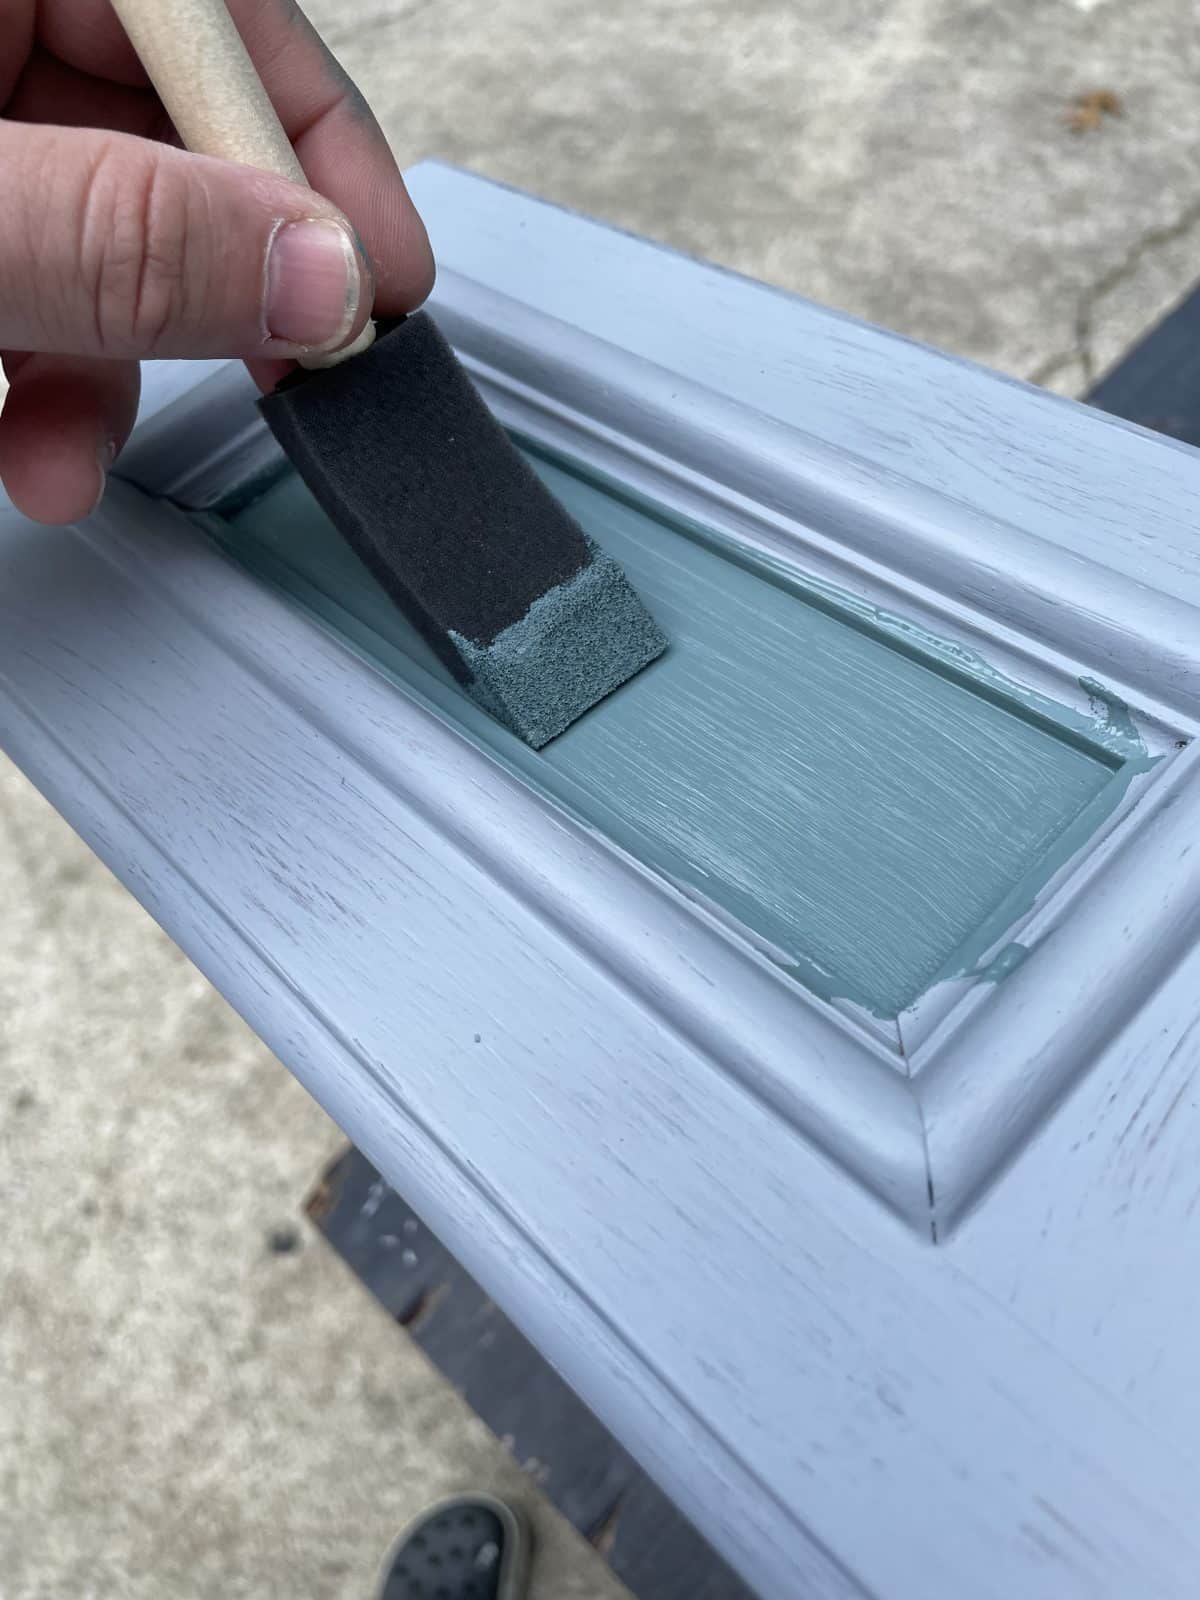
I wanted to ensure a smooth finish for this night stand, so I added Floetrol Flood. Floetrol Flood is a latex paint additive that gives your latex paint a smoother finish that almost mimics an oil-based finish. The paint, with the additive, flows and levels much better for a smoother finish by eliminating or significantly reducing roller or brush marks. My first coat of paint had good coverage, but I wanted to ensure a durable finish. So, I added a second coat of paint to the remodeled nightstand. Due to the details on the piece, there were places I had to use a foam brush to make sure I was able to get great coverage in the smaller and tighter areas.
Paint Color: Sherwin Williams Riverway (I had it color matched at Lowe’s)
9: The ever-so-important top coat and hardware
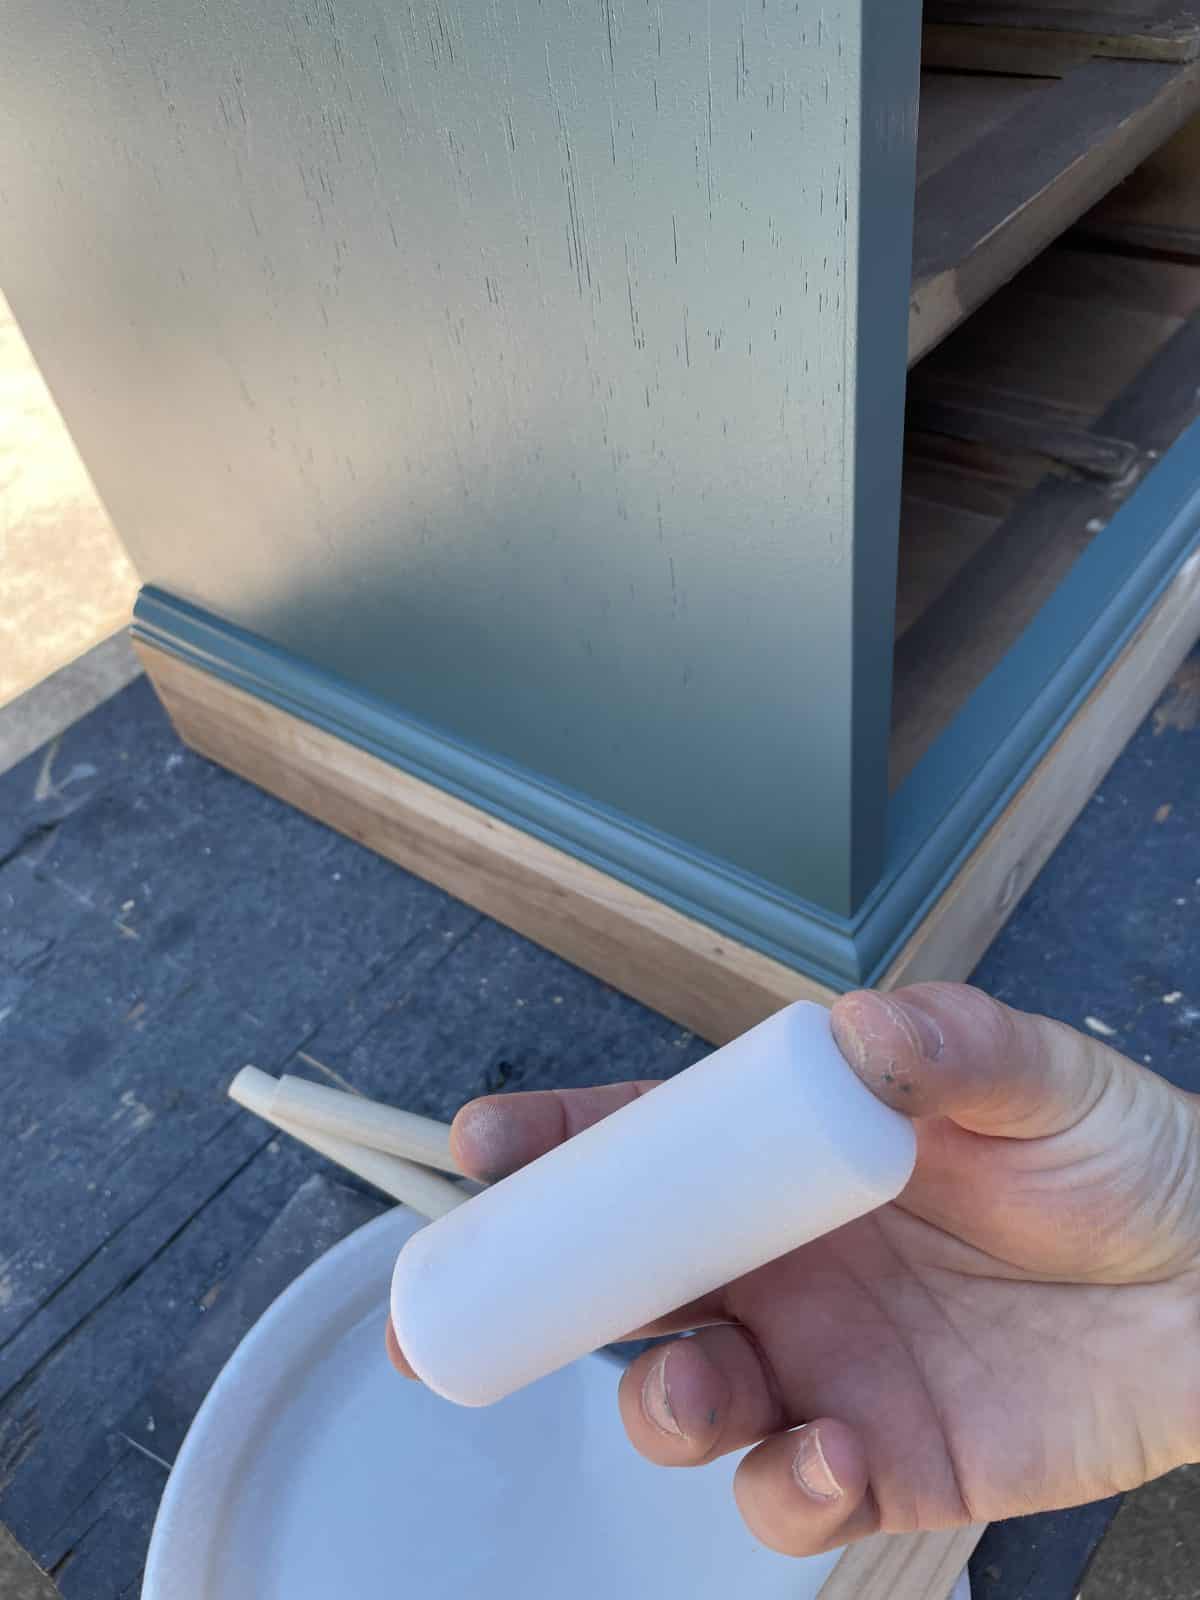
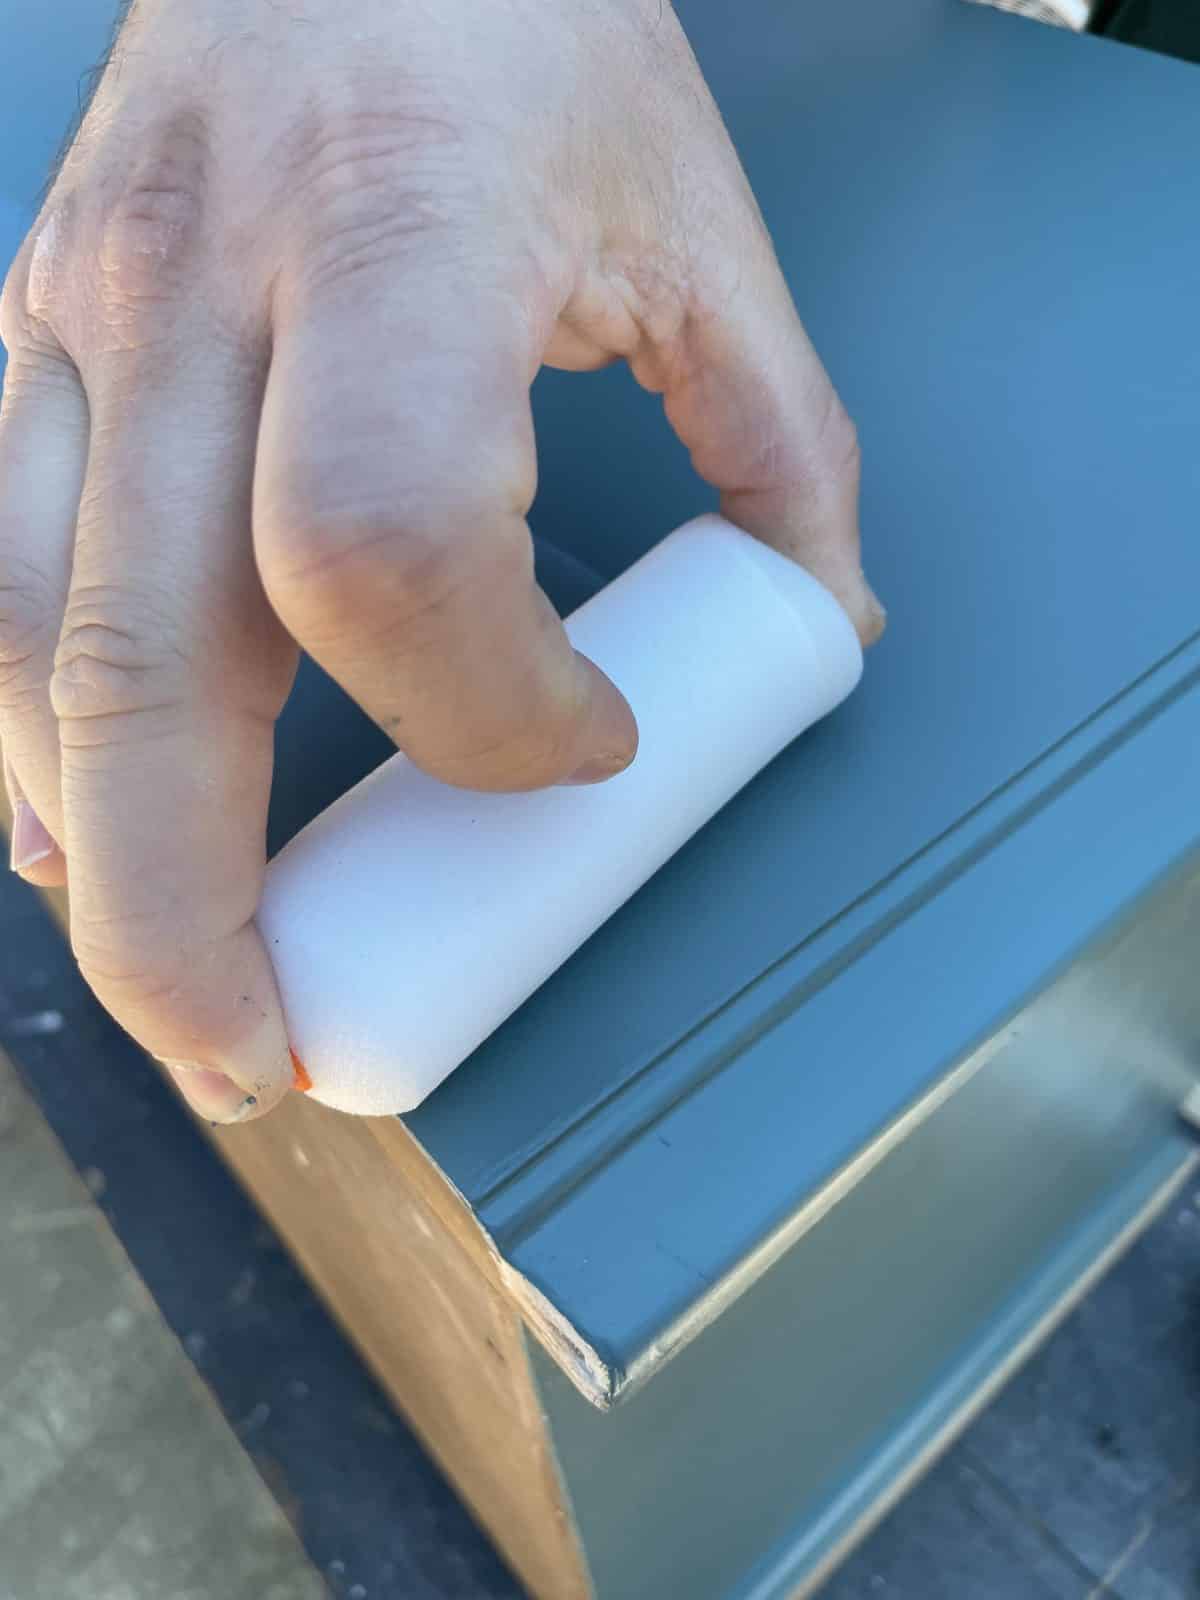
I decided to use a method of applying polyurethane on the nightstand that I picked up a while back. This could take a little practice, but the results are nice once you get the hang of it. I used a 4″ foam roller between my middle finger and thumb. Dipping the foam roller in polyurethane and dragging it across the piece gives an excellent final top coat. Several areas required me to use a foam brush to seal the piece.
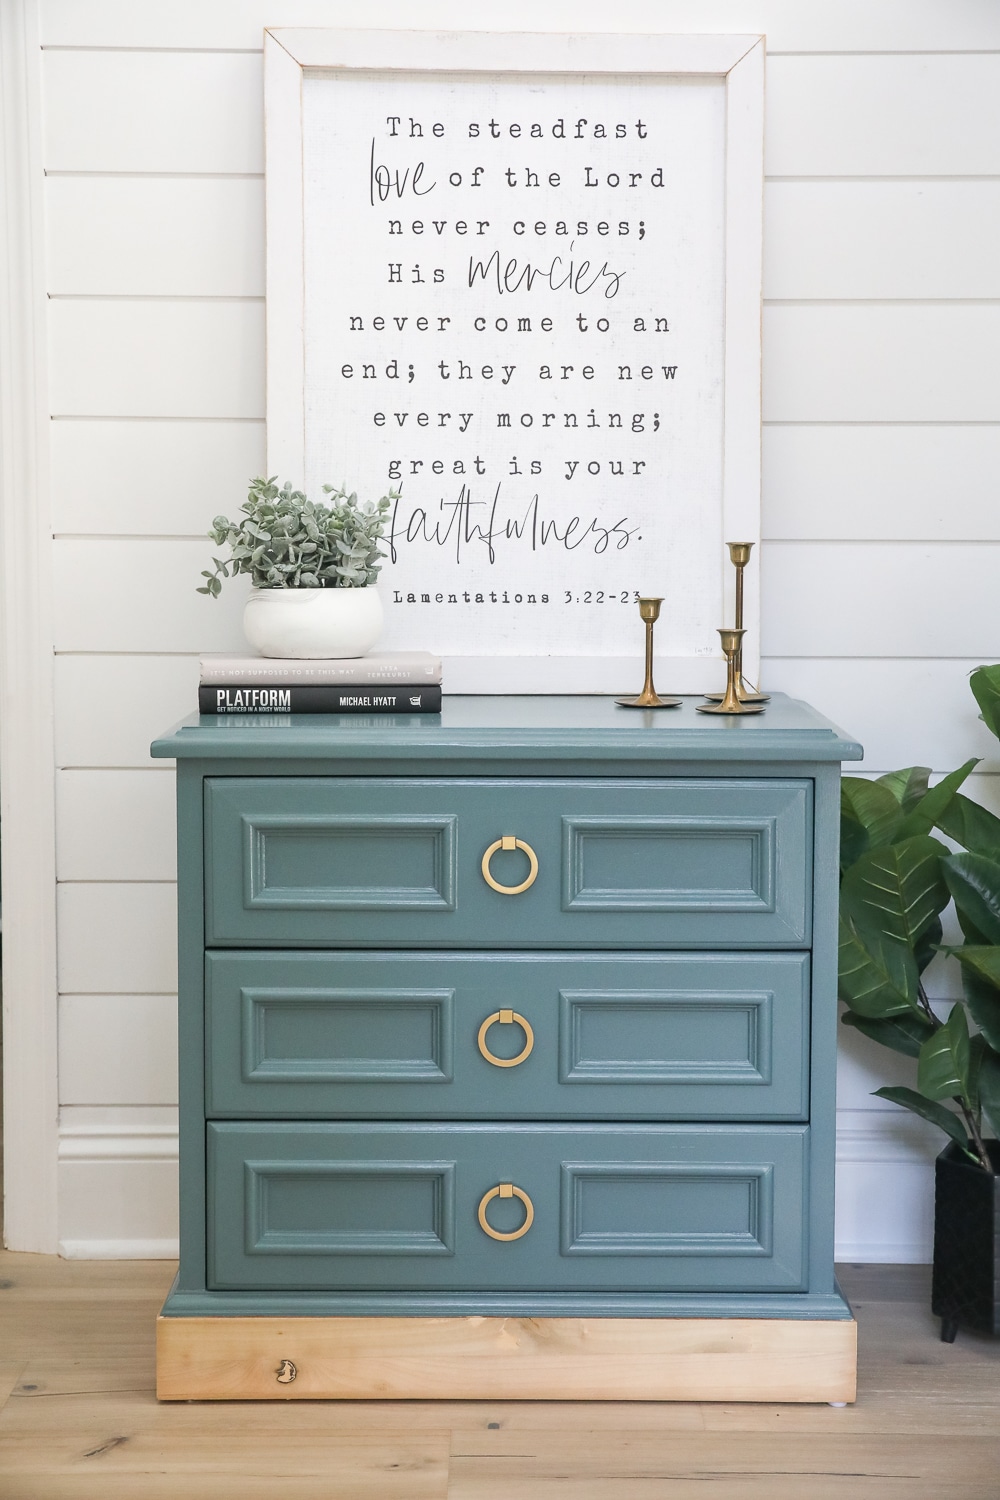
The last thing to do is to put the new hardware on, and we are done. Since I used wood putty to fill the two original hardware holes, I measured where each hardware set should go on each drawer. I drilled the hole and screwed the new hardware on. BINGO. There it is.
What kind of paint do you use on a bedside table?
I go through phases on what paint I enjoy using. Sometimes I like using chalk paint just because it is so stinking easy to use. Most of the time no prep work other than cleaning! Here is a link to my post about chalk paint best brands. You can use oil-based, but as nice as the finish is, it is a hassle to clean up after using oil-based paint compared to chalk or latex. Lately, I have been using latex paint in a satin finish and adding Floetrol Flood to mimic oil-based paint.
Don’t miss this makeover for a chalk-painted refinished nightstand.
How do you modernize a nightstand?
There are several ways to modernize a nightstand. The most simple way is to swap out what’s on top of the nightstand. So, a new lamp, a small plant, candlesticks, or coffee table-type books. This may be a little more expensive if you buy new decor, but it’s easy. Another option would be to swap out the hardware. Updating to new, more modern hardware can do wonders for your bedside table. Last is to follow all the steps in this post for a completely new, refinished nightstand. It’s something that anyone can do. Just take your time and leave your fear of messing up behind. Almost all mistakes can be fixed. Hopefully, now you feel more confident in how to paint a nightstand.
More Refinish Furniture with Paint Tutorials:
I hope this simple project of how to paint a nightstand was an inspiration to you. Don’t go looking for brand new furniture; find something you already have or something someone else dropped at the thrift store. Not only can outdated furniture look amazing again, but it is an awesome feeling to look at the piece each day and know you are responsible for transformation.
Let me know what you’re working on. I’m excited to see your projects. Be blessed!
Leave a Reply